Creative Product Photography: 9 Ideas That Still Sell the Product
Creative product photography in 9 ideas: dark light, one idea per frame, hard sun, real surfaces, still life, macro, seasons and rooms. Get one image free.
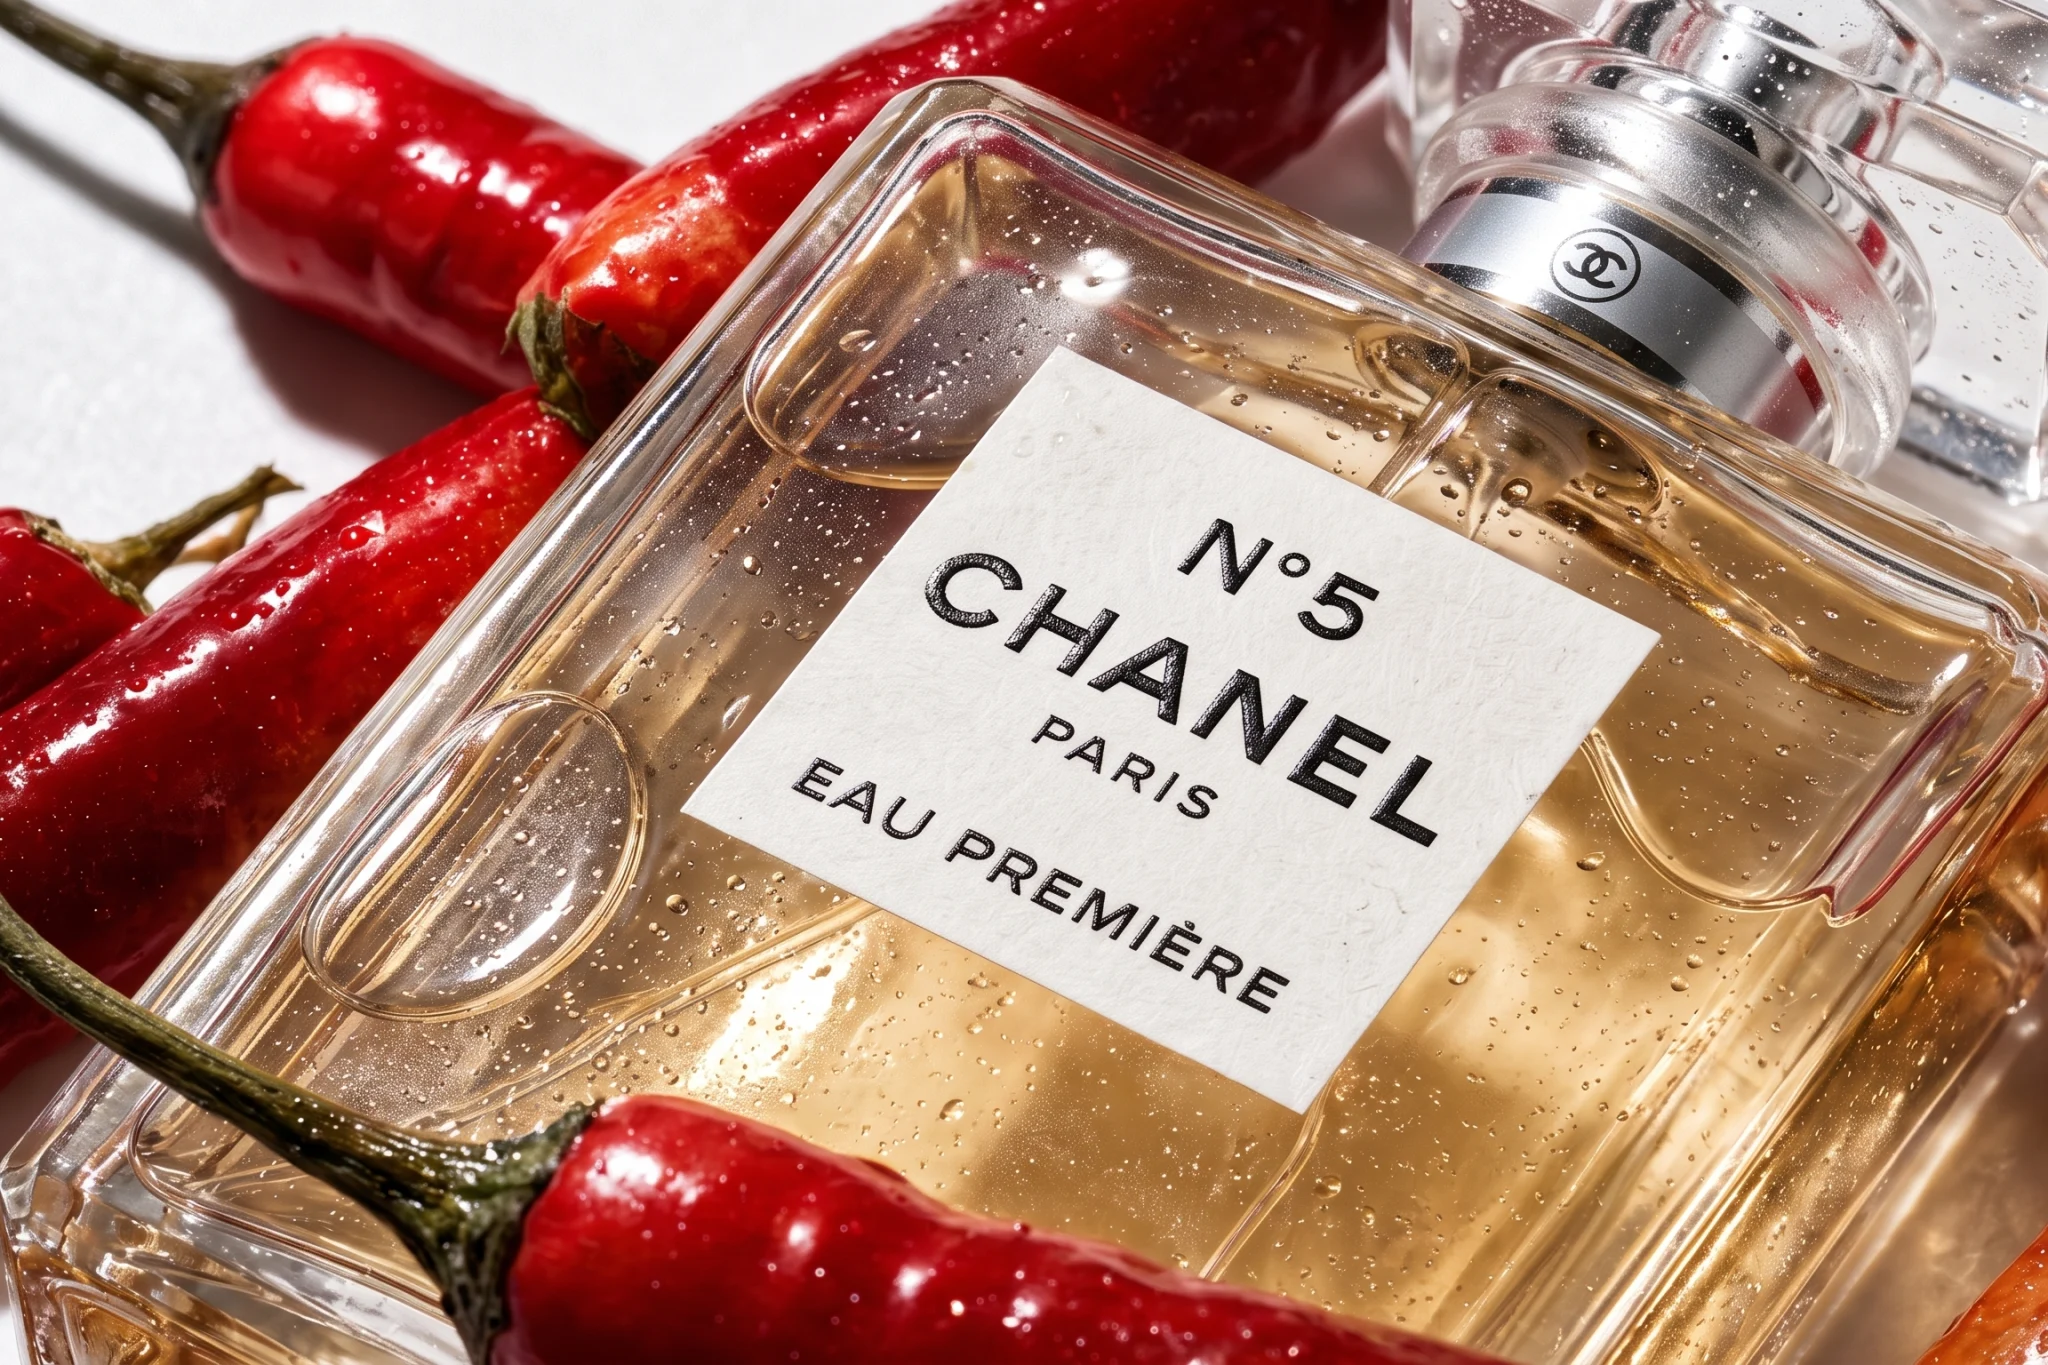
Most creative product photography is a prop budget with no idea behind it. The props change every shoot. The idea never shows up.
Creative product photography puts the product in light, a setting or a story that a plain white shot can’t give it. It works when the image has one clear idea and the product is still the easiest thing to see. We build campaign images like these for luxury brands every month, usually starting from a single photo of the product.
Plain white images still matter. Shoppers use them to check exactly what they are buying, and every product page needs them. But a white image tells people what the product is. It rarely makes anyone want it.
Here are 9 ideas that do both:
- Light it low and dark
- Build the frame around one idea
- Angle it toward the hand
- Let hard sun draw a pattern
- Set it on a real surface
- Stage the owner’s day
- Make the macro the hero
- Give it a season
- Put it in its room
1. Light it low and dark
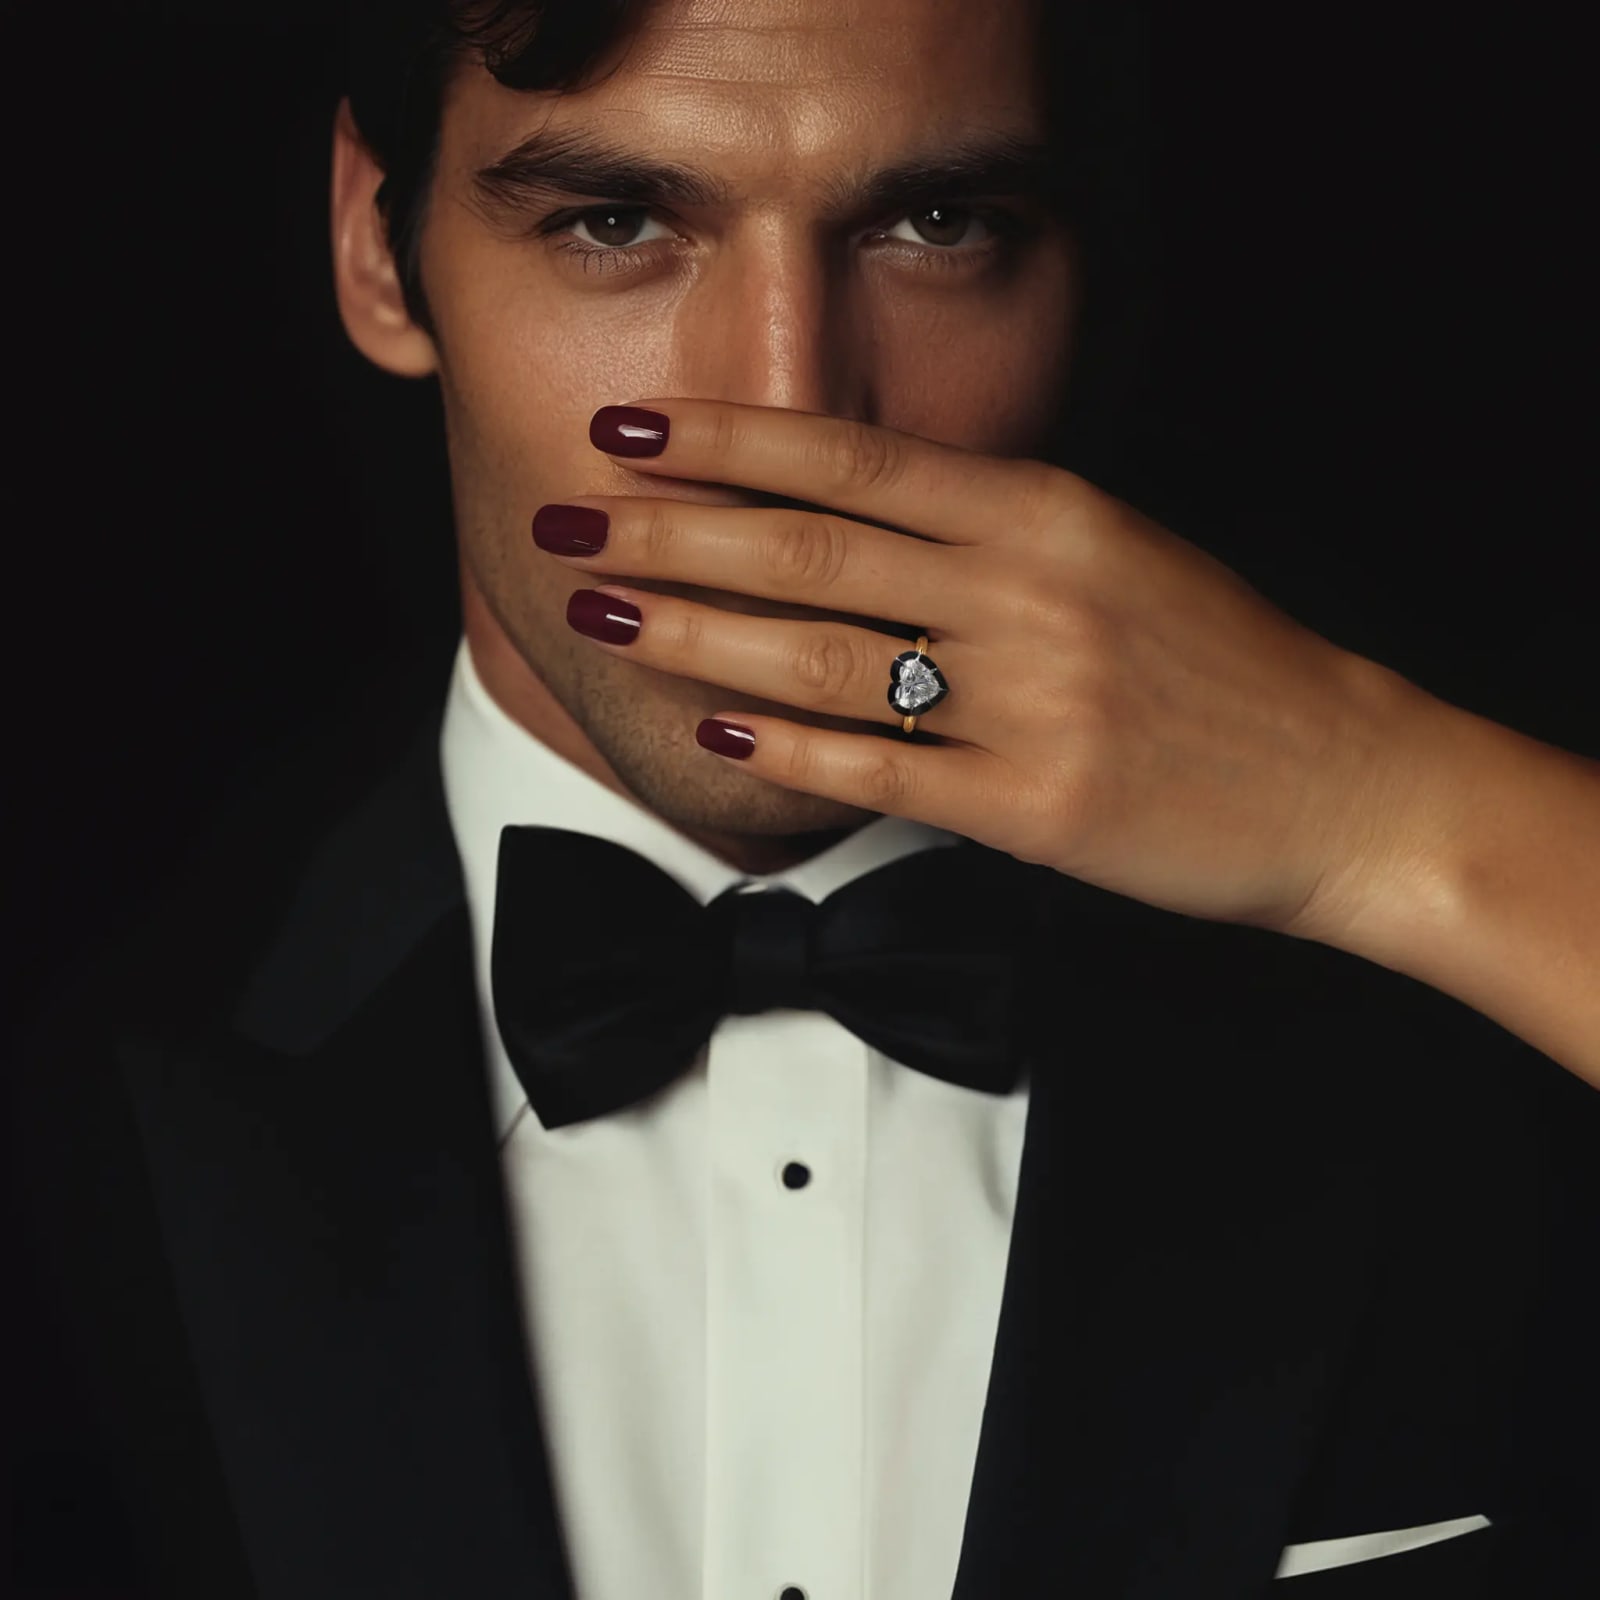
Dark product photography suits luxury for a simple reason. Shadow hides everything that isn’t the product.
Use one light, placed to the side and a little behind. Put a black card on the other side so the shadow stays deep. Then move the light until the edges of the product catch it. Gold, glass and polished metal will show their shape from that one line of light.
Keep the background a few steps darker than the product. If the background is as bright as the product, the eye has nowhere to land.
Set the exposure for the brightest part of the product, not for the room. Then check the image on a phone at low screen brightness. Detail that disappears into the shadows there is detail your buyer never sees.
2. Build the frame around one idea
In product advertising photography, the idea comes before the set. Write it as one sentence before you buy a single prop: “found by the sea”, “the morning after”, “a gift kept for years”.
Good ideas usually come from the product itself. Look at its material, where it was made, its name or the moment someone would wear or use it. A pearl suggests water. A watch called after a city suggests that city’s streets.
Then every object has to earn its place against that sentence. A shell supports “found by the sea”. A candle, a ribbon and a vase of tulips do not, however nice they look together.
One idea is also easier to repeat. You can shoot “found by the sea” for every piece in a range. You can’t repeat a pile of props that meant nothing the first time.
A full day of styling. One shell left in the final frame. That is usually the right result.
3. Angle it toward the hand
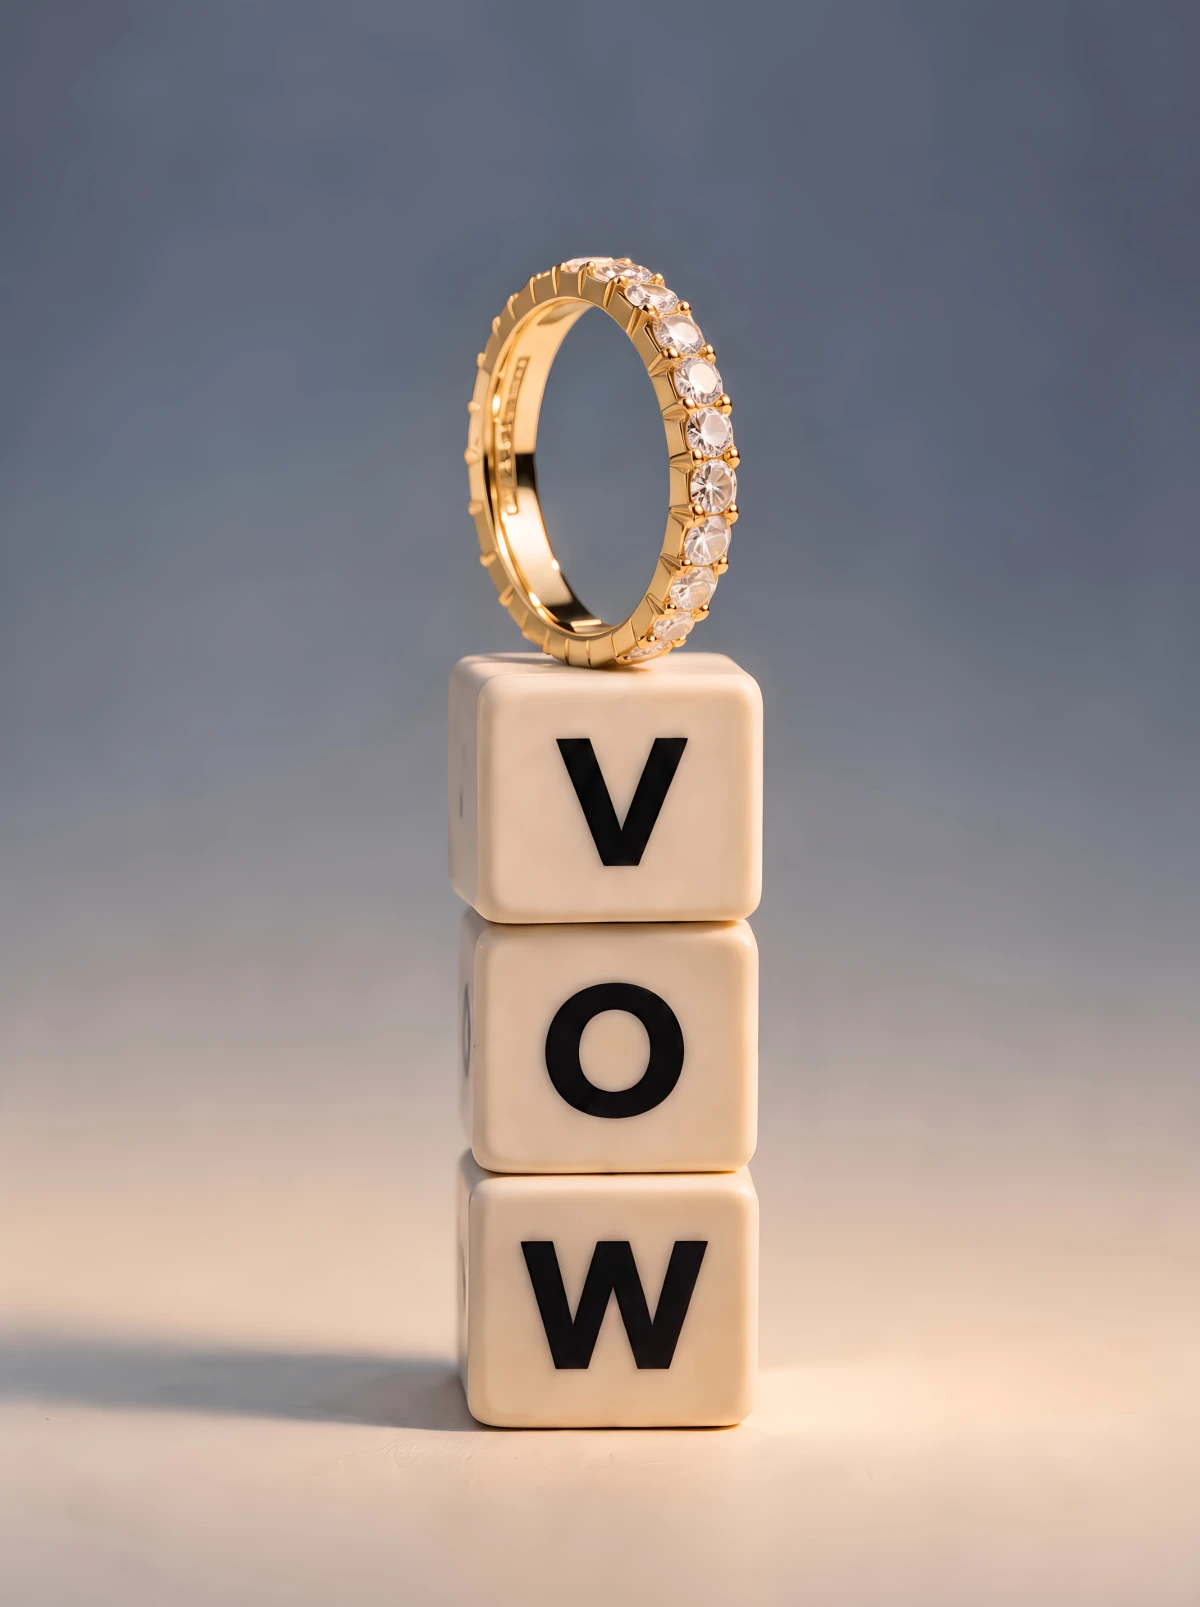
Turn the product so a viewer can picture picking it up. A handle, a strap or a cap should point toward the camera and slightly to the right, where most people’s dominant hand is.
This is more than a habit. Ryan Elder and Aradhna Krishna (Journal of Consumer Research, 2012) found that pointing a product toward the viewer’s dominant hand made people imagine using it, and raised purchase intent. The catch: it only worked for products people already liked the look of. Angle helps an appealing product. It won’t rescue a dull one.
Products without a handle still have a side made for the hand. Turn a bottle so the cap or atomizer leans right. Stand a ring so the opening faces the camera. Lay a watch with the crown on the right, where the wearer would reach for it.
4. Let hard sun draw a pattern
Soft light is safe. Hard sun is more interesting, as long as it falls in the right place.
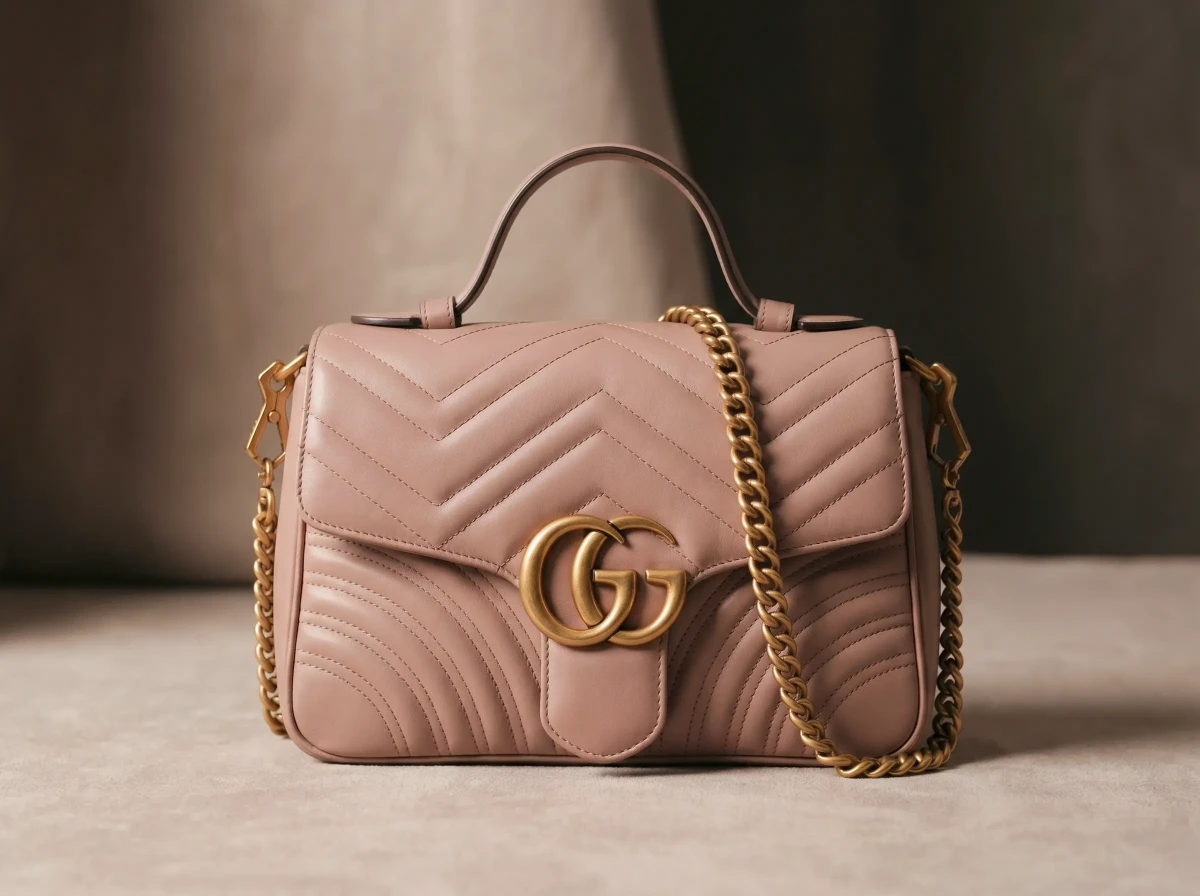
Low sun through palm leaves, a window blind or water throws shapes across the set. Those shapes bring movement into the frame, and they cost nothing. Glass and liquid love it, because the light passes through and glows. A colored bottle also throws colored light of its own. Turn it until that color lands on the surface beside it.
The rule: keep the pattern off the label and the logo. Shadows can cross the bottle. They can’t cross the name. Shoot early or late in the day, when the sun is low and the shadows are long, and you have about an hour before the light moves on.
No sun? Cut leaf or blind shapes into a sheet of card and hold it between a hard lamp and the set. Photographers call this a gobo. It gives you the same pattern, and it stays put while you work.

5. Set it on a real surface
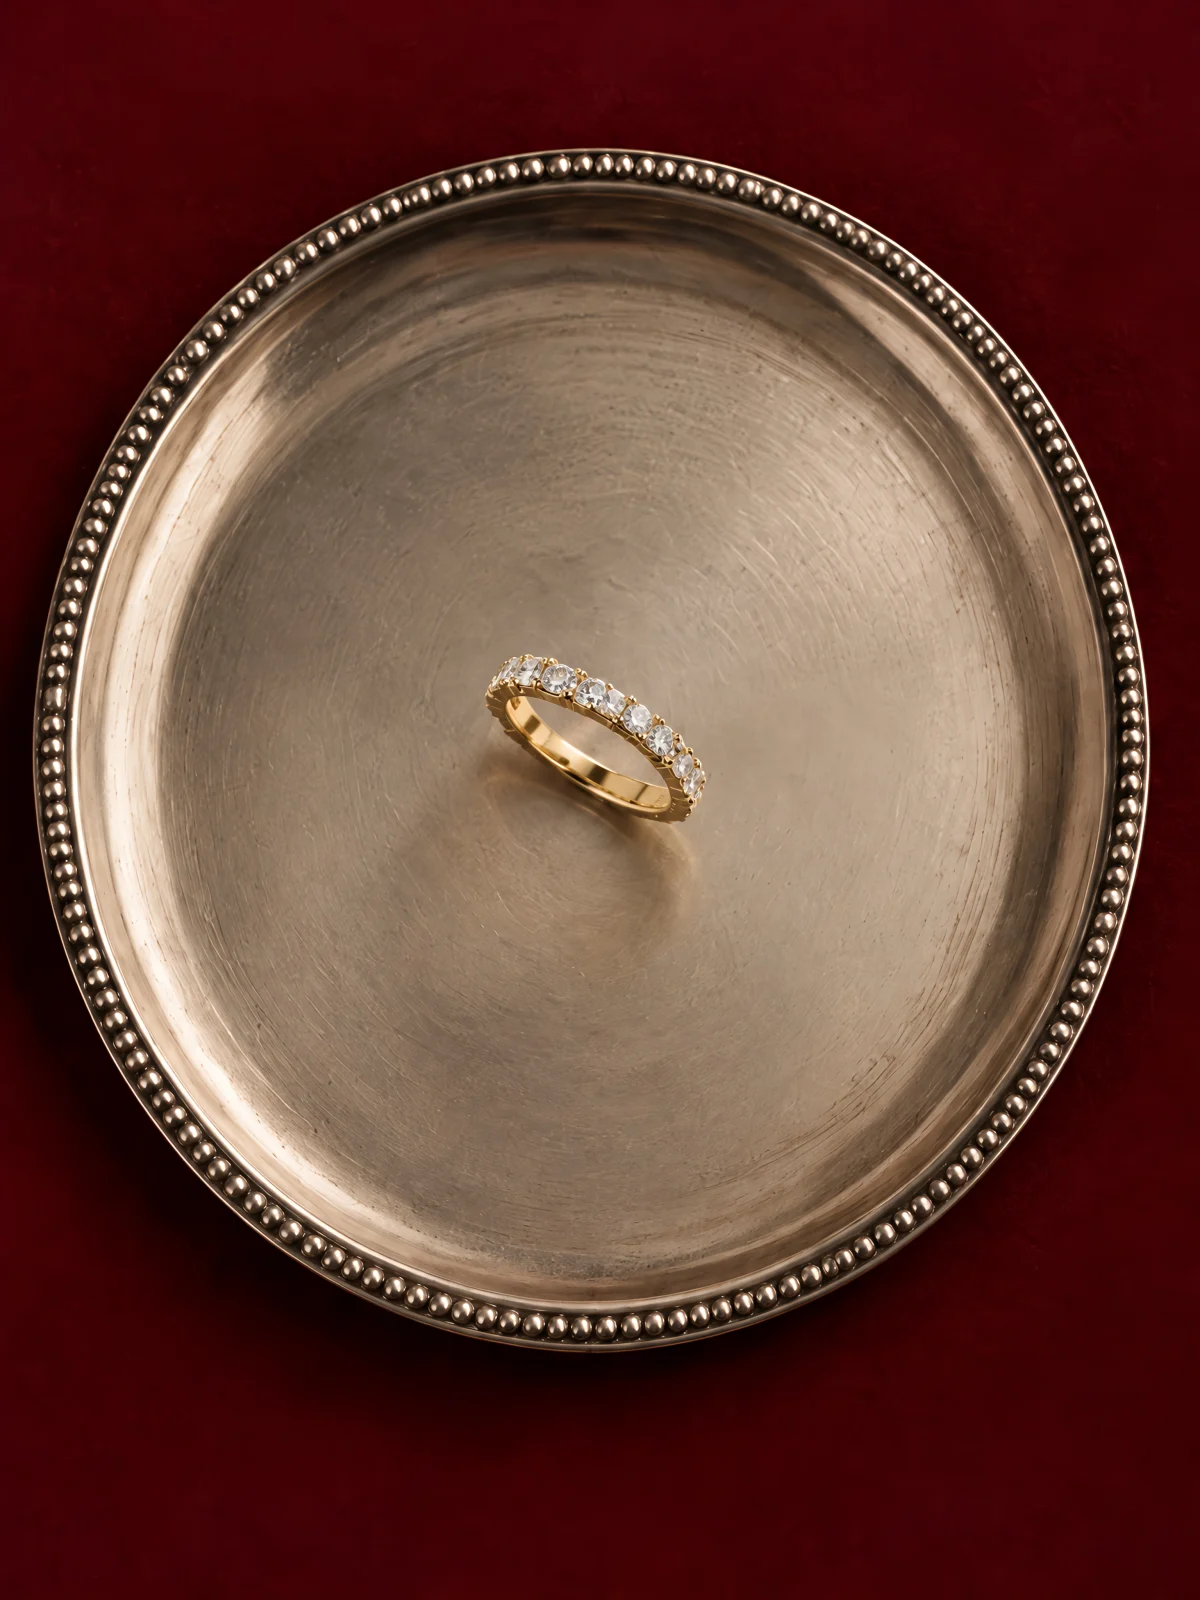
The surface tells a buyer what the product costs before they read a price. Stone, marble, old paper, linen and worn wood all carry age and weight. Shiny plastic and printed backdrops do the opposite.
Pick a surface with texture you can see up close. A real marble slab has veins that change across the stone. A printed marble sheet repeats the same vein every few inches (and phones show it).
Match the surface to the metal. Warm gold sits well on cream paper and pale stone. Silver and steel look sharper on gray stone and dark slate. Clean the surface before every frame, because dust on dark stone shows up like stars.
You don’t need a whole kitchen counter. Stone yards and tile shops sell offcuts, and a piece the size of a large book fills the frame for most small products.
6. Stage the owner’s day
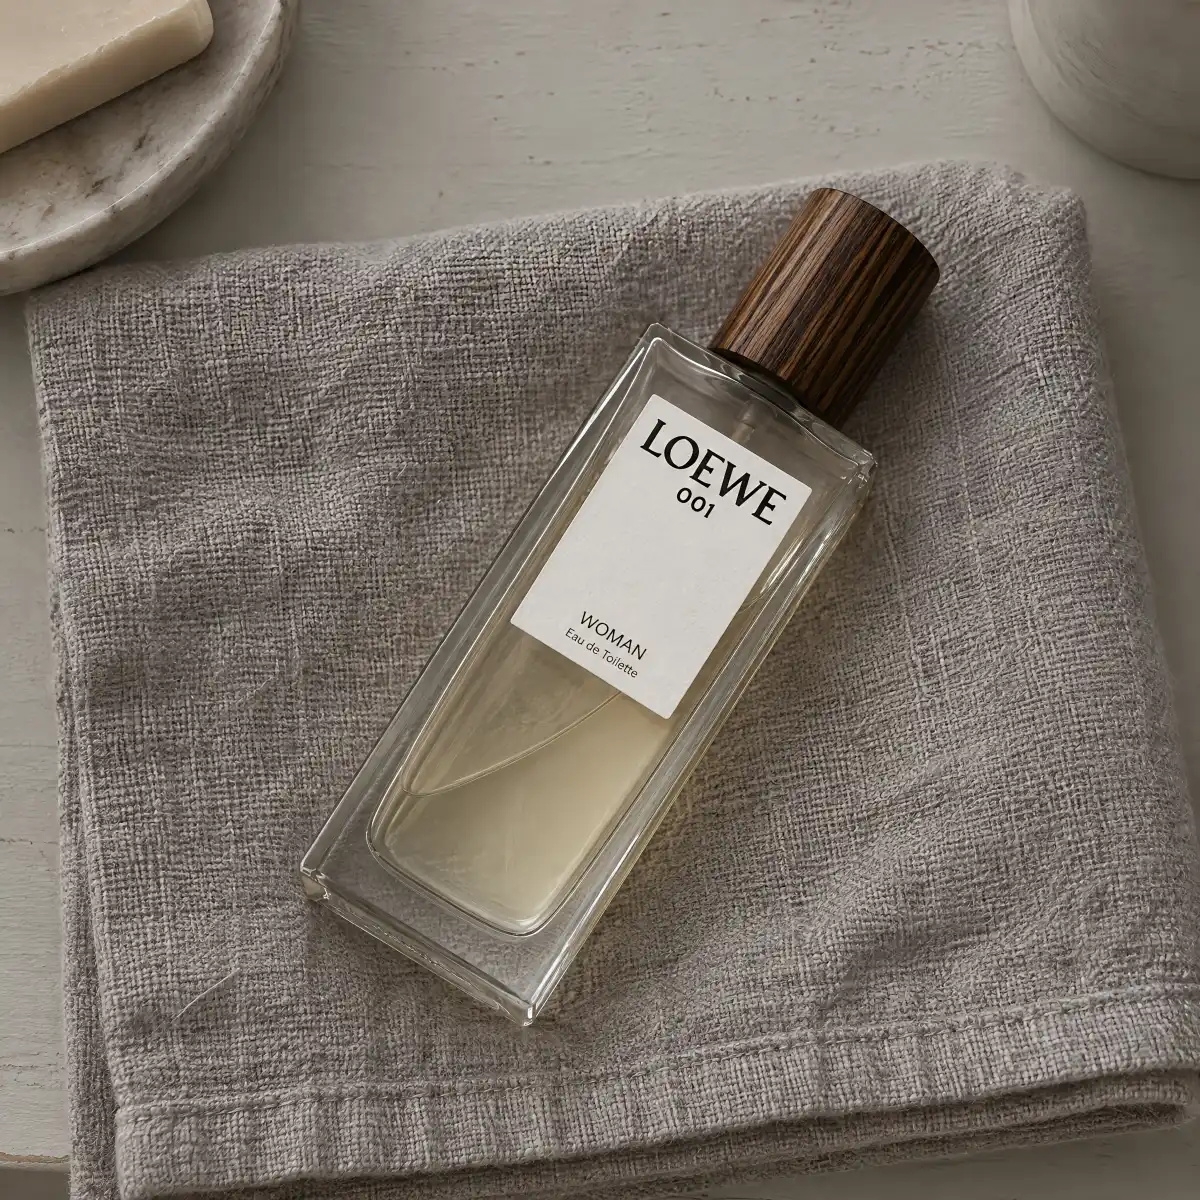
Still life product photography works best when the props hint at a person. A folded towel and a bath say morning. An espresso and a notebook say work. The buyer fills in the rest and puts themselves there.
Use 2 or 3 objects, no more. Give them muted colors, push them toward the edges and keep them a little out of focus. They are the setting. The product is the reason for the photo.
Then check the scale. Every prop should be the size it would really be next to the product. A giant cup beside a tiny bottle makes the bottle look like a sample.
This idea takes the most work on the list: sourcing the props, finding the light, arranging and rearranging until the frame feels lived in.
7. Make the macro the hero
Most brands treat the close-up as a detail shot, the fifth image nobody clicks. Try it as the lead image instead.
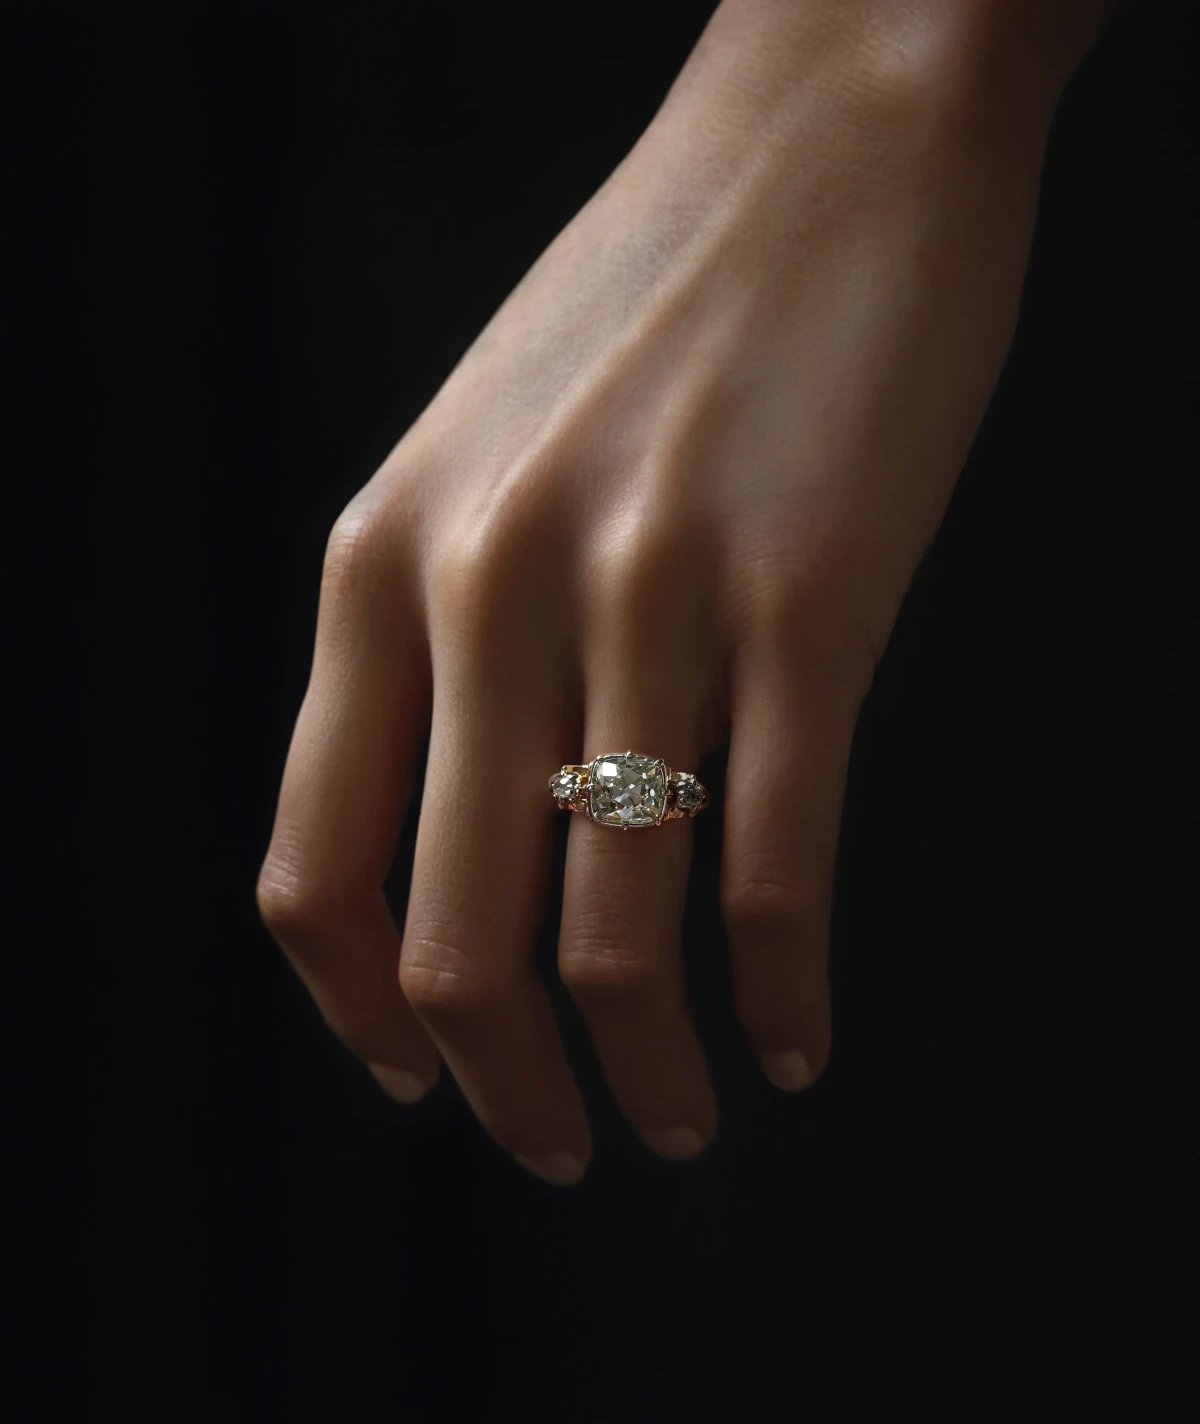
Macro product photography turns texture into the subject: the grain of a cap, the cut of a stone, the stitching on a strap. Small product photography gains the most, because a ring or a perfume atomizer looks larger and more important when it fills the frame.
You need a macro lens, a tripod and focus stacking, which merges several frames so the whole product is sharp. Leave a little space around the product, so the crop still works on a phone.
Choose the one detail that explains the price. On a perfume, that might be the atomizer. On a bag, the stitching. On a ring, the setting that holds the stone. Shoot that, and leave the rest of the product soft.
Jakob Nielsen’s eye-tracking research (Nielsen Norman Group, 2010) found that people study images that carry information and skip ones that are only decoration. A macro is pure information. That is why it can lead.
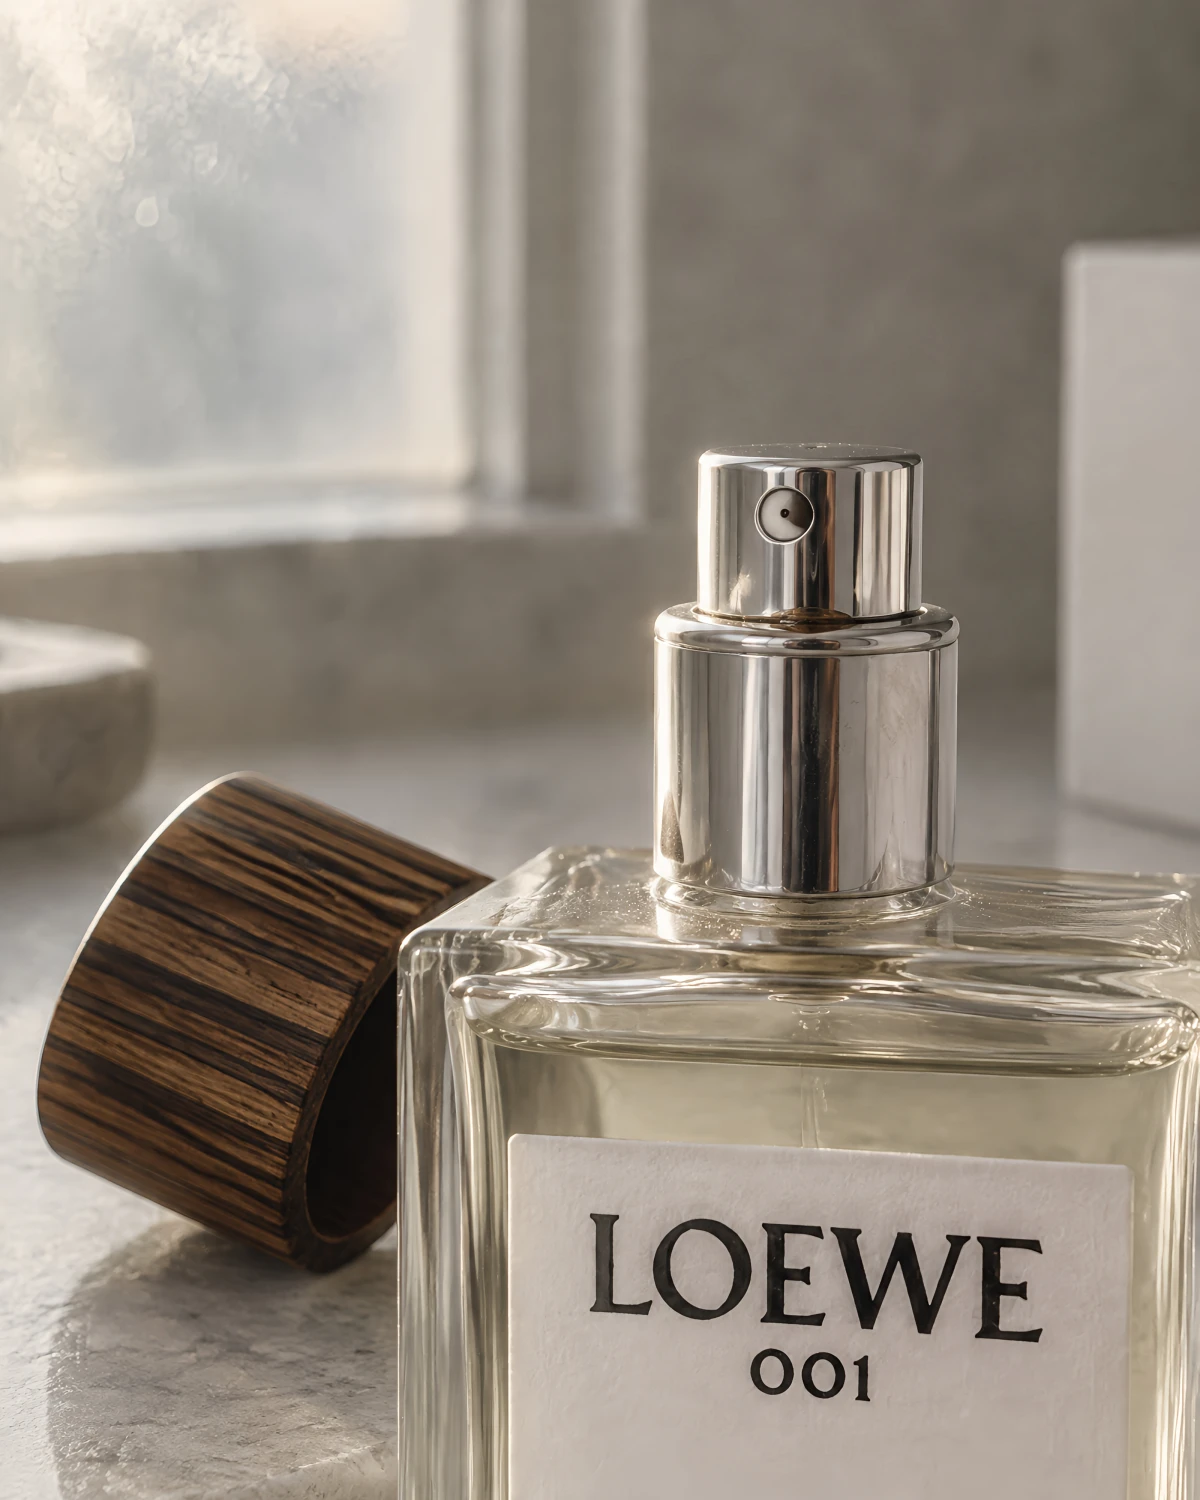
For more on lighting at this distance, see our guides to perfume photography and watch photography.
8. Give it a season
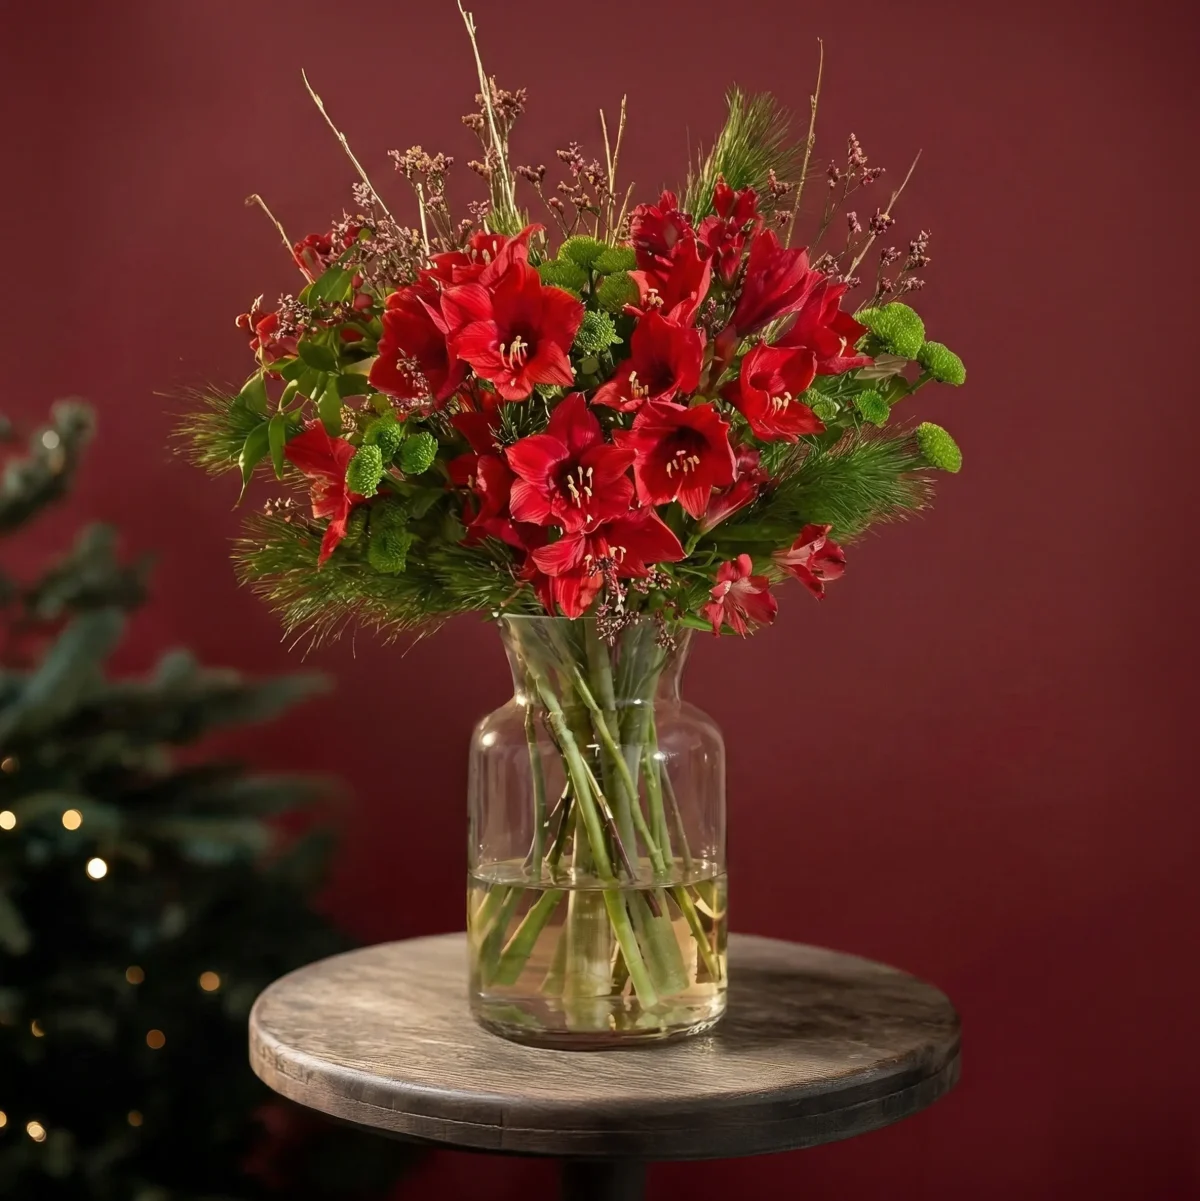
A season is a strong idea because the buyer already knows how it feels. Pick one cue and let it carry the whole frame: a few red flowers, a blurred tree in the back, snow light through a window.
One cue is enough. Five Christmas props turn a luxury product into a gift catalog page.
Choose a cue that fits your buyer’s season, not only the calendar. Brands that sell in both hemispheres need summer and winter images at the same time.
Keep the product’s own colors in charge. If the bottle is amber, choose a cue that sits well beside amber, like dried leaves, not one that fights it, like bright green holly.
Shoot seasonal images early. A winter set shot in November is late for most brands, because the images need to be ready when the season’s emails and ads start.
9. Put it in its room
Some products only make sense in place. A towel rail on white is a metal frame. The same rail in a stone bathroom, warm towels hanging from it, is the reason to renovate.
This works well beyond jewelry and fragrance. One of our clients is a German radiator company. The images we make for them show the bathroom as much as the radiator.
Build the room around the product’s real size. Keep the space tidy but used: a towel, a bath, morning light. Then frame wide enough to show the room, and close enough that the product is still the first thing you see.
Shoot a closer crop from the same set while it is lit. The wide image sells the room. The close one shows the finish, and it fits a product page.

Pick 3 creative product photography ideas and run them for a month
A single creative image is easy to admire and easy to forget. A brand is built from the next 30.
Pick 3 ideas that fit your brand and use only those for a month. For Polly Gasston Jewelry, we built 27 visuals in one month. Some were dark campaign images, some light lifestyle shots and some close-ups made for zooming in. The models and moods changed. The standard didn’t, because every image followed her brief.
Then run the logo test. Cover your logo and product names on your last 9 posts. If a stranger couldn’t tell they came from one brand, your ideas are random, not a look. See the range in our work and the planning in our jewelry photoshoot guide.

9 ideas, a shelf of props, an hour of low sun, a marble slab, a macro lens and a winter set shot in summer. Or take one photo of the product on your kitchen table. The product stays exactly yours, never redrawn. We build the light, the scene and the idea around it. We can build one image for you at no cost.
Hypervision. The idea comes first.
Questions people ask
What are some cool ideas for product photography?
Try dark, low light with one lamp, hard sun through leaves or a window blind, and a real surface like stone or old paper. A still life that hints at the owner's day works well too. Pick one idea per image and make sure the product is still easy to see.
How do you make a good product photo?
Start with a clean product, one main light and a tripod. Get the plain main image right first: sharp, true to color and easy to read at small sizes. Creative images come after that, not instead of it.
What product photos sell the best?
The ones that answer a buyer's questions: a clear main image, a shot that shows size, and a close-up of the detail. Creative images help people want the product. The plain images help them trust it.
What are good product photography ideas for Instagram?
Use the same ideas in this post, cropped to 4:5 so they fill more of the screen. Keep the light and colors the same from post to post, so your feed reads as one brand.
How do you do floating product photography?
Hold the product up with a clear acrylic stand, fishing line or a thin rod, then remove the support in editing. You can also shoot the product and the scene apart and join them. Light both the same way, or the product will look pasted on.
What is aesthetic product photography?
Images built around one look: a small set of colors, one kind of light and the same kind of surfaces. The look comes from what you leave out as much as what you add.
What is the difference between product photography and product advertising photography?
Product photography shows what the item is, mostly on plain backgrounds for the product page. Product advertising photography shows why someone would want it, with a scene, a mood or an idea. Most brands need both.
What are the product photography trends for 2026?
Trends change every season, so build on ideas that don't date: one clear idea per image, real surfaces, light with a direction, and a close-up that shows the quality. Then keep one look across every image, so your brand is recognizable without the logo.