Jewelry Photoshoot: 7 Steps From Brief to Final Image
A jewelry photoshoot in 7 steps: brief, shot list, prep, styling, light by metal and stone, macro, and a check against the real piece. Get one image free.

Most jewelry photoshoots start with booking a day and end with picking which images to keep. The decisions that set the result belong in between, and most shoots skip them.
A jewelry photoshoot works when 7 things are decided before anyone touches a camera:
- Write the brief
- Build the shot list
- Prepare the jewelry
- Choose the styling
- Light the metal and stones
- Shoot for the zoom
- Edit, then check against the real piece
We direct jewelry imagery for brands every month, often built around a founder’s own product photo. The pieces change. These 7 steps don’t.
Step 1: Write the jewelry photoshoot brief before you book anything
Without a brief, the shoot drifts back to whatever the photographer did last time.
The brief fits on one page and answers 3 questions:
- Who wears it? Describe one person in a sentence, not a demographic.
- What is the one idea? A launch, a season, a feeling. 1 idea, not 4.
- Where will each image run? A product page, the feed, an email, a printed lookbook. Each needs a different crop and a different amount of empty space around the piece.
Add a handful of reference images from your own feed, the ones you wish every image looked like. They describe a look faster than any adjective, and they stop the shoot drifting toward someone else’s style.
Most weak shoots trace back to the brief, not the lighting. Light can be fixed on set. A missing idea can’t.
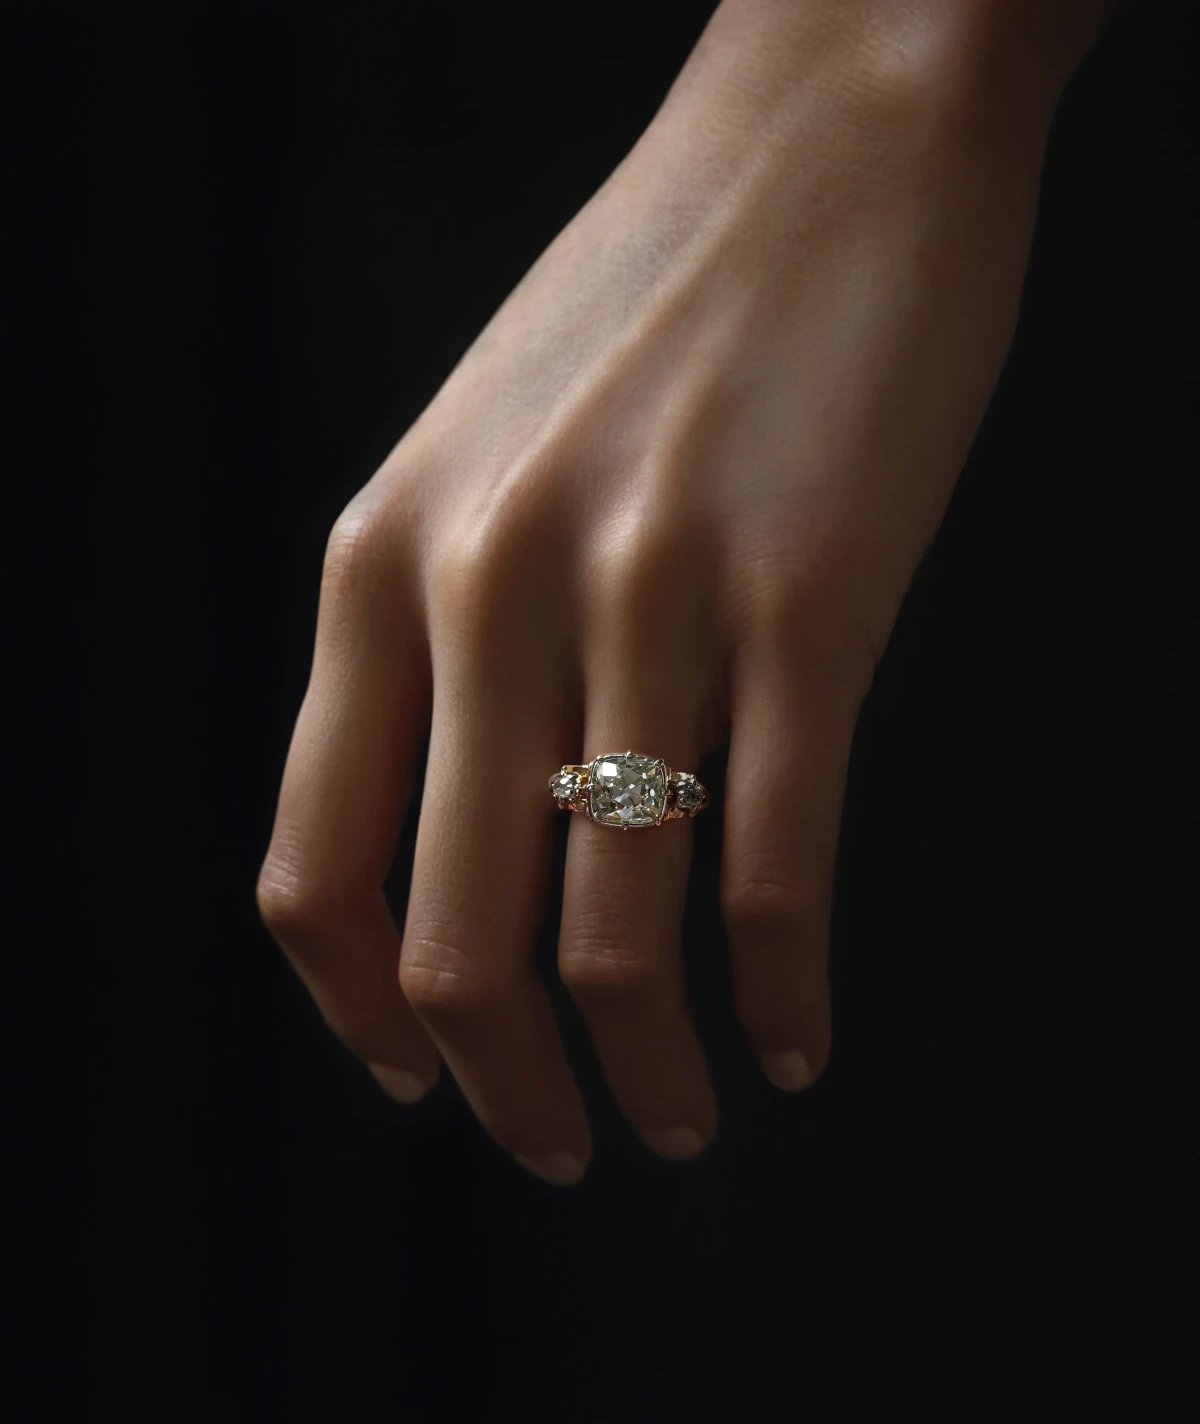
Step 2: Build a shot list that covers the 3 missing shots
Most jewelry shot lists cover the front, the side and a close-up. Then those 2 or 3 angles run on the page for a year.
Three shots go missing from most lists. Each answers a different buyer question:
| Shot | The question it answers | Where it runs |
|---|---|---|
| The macro | Is it worth the price? | Product page, zoom |
| The scale shot, worn | How big is it when worn? | Product page, second or third image |
| The campaign image | Why would anyone want it? | Homepage, ads, launch emails |
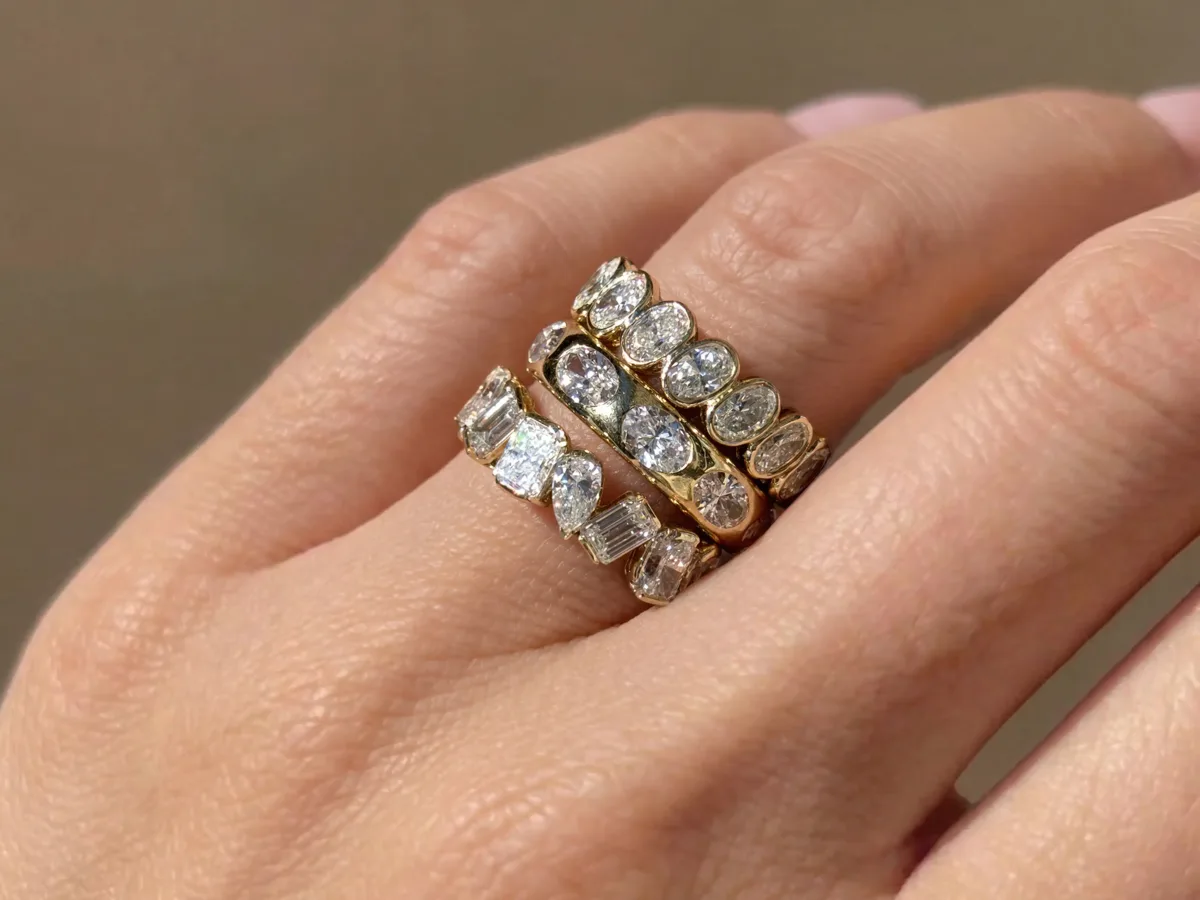
Write every shot down with its piece, its angle and where it will run. Anything not on the list doesn’t get shot. Anything on the list doesn’t get dropped when the day runs long.
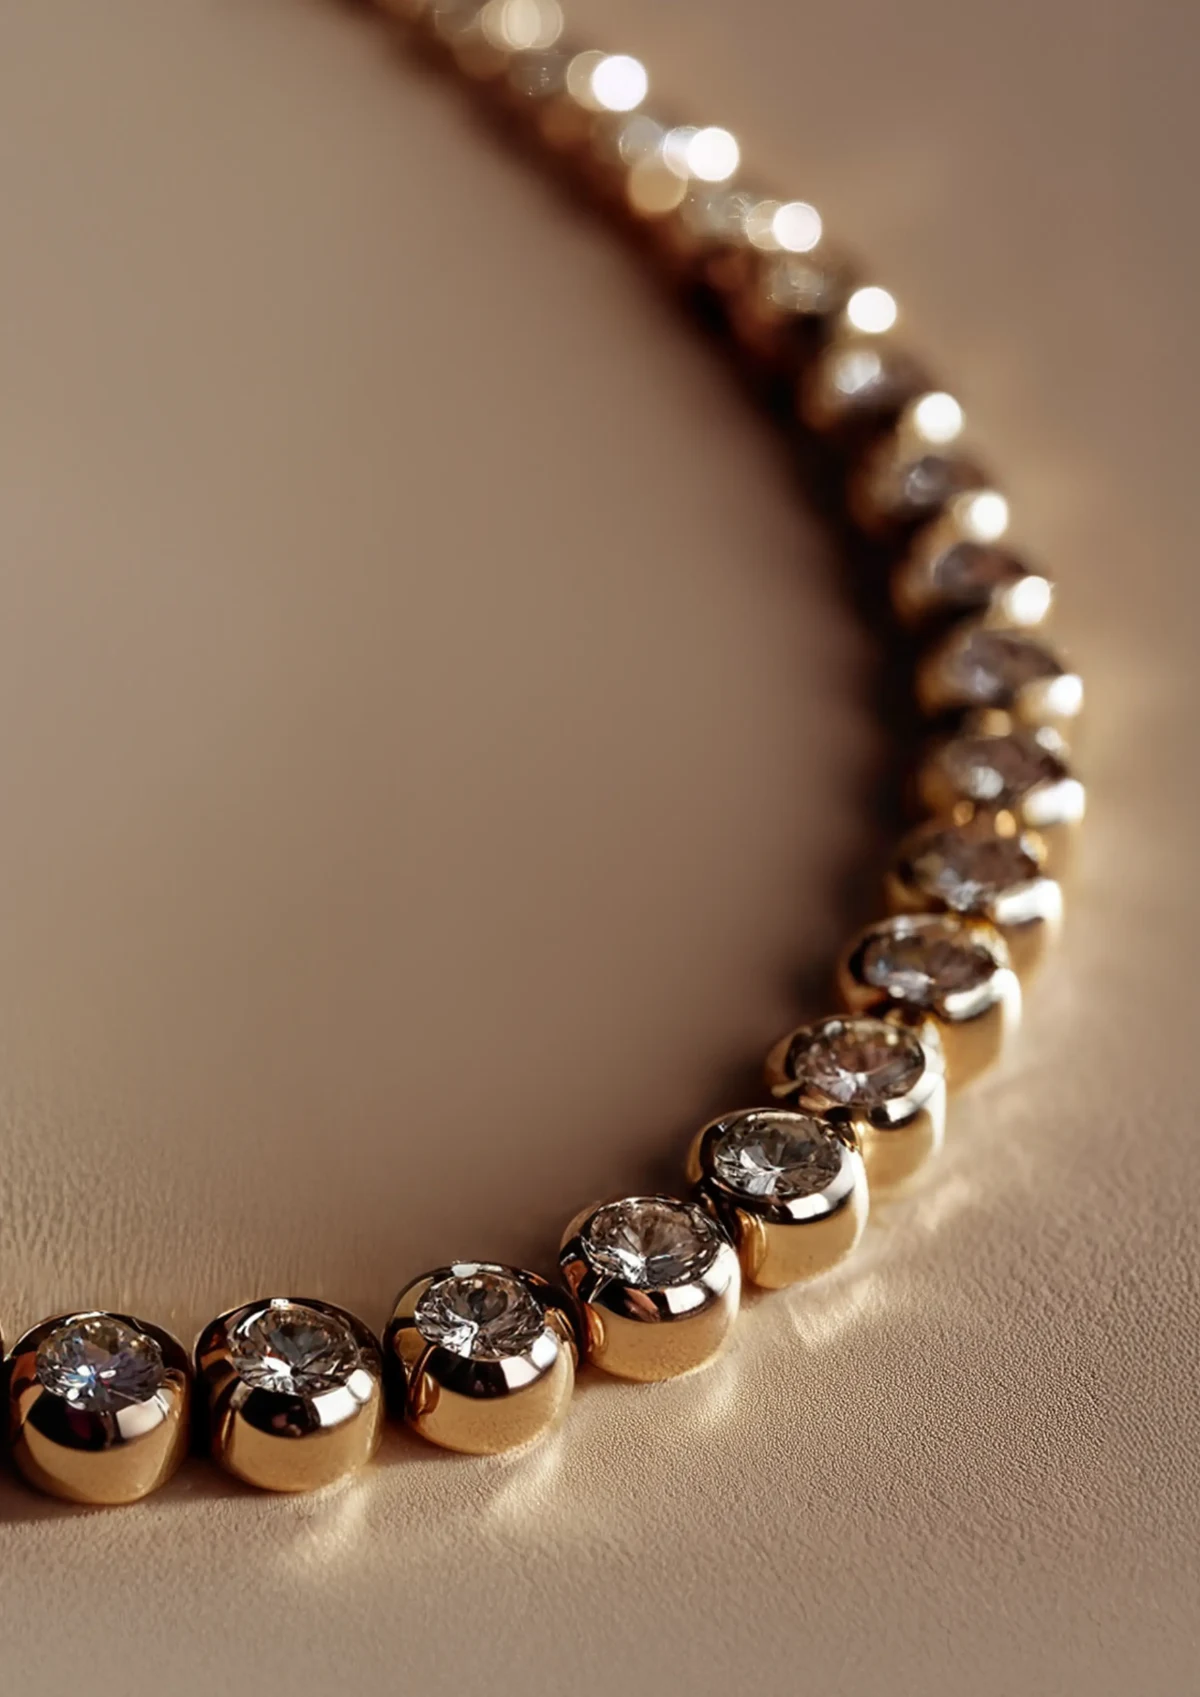
The buyer who wanted to see the clasp and couldn’t won’t email to ask. They close the tab, and no report records why.
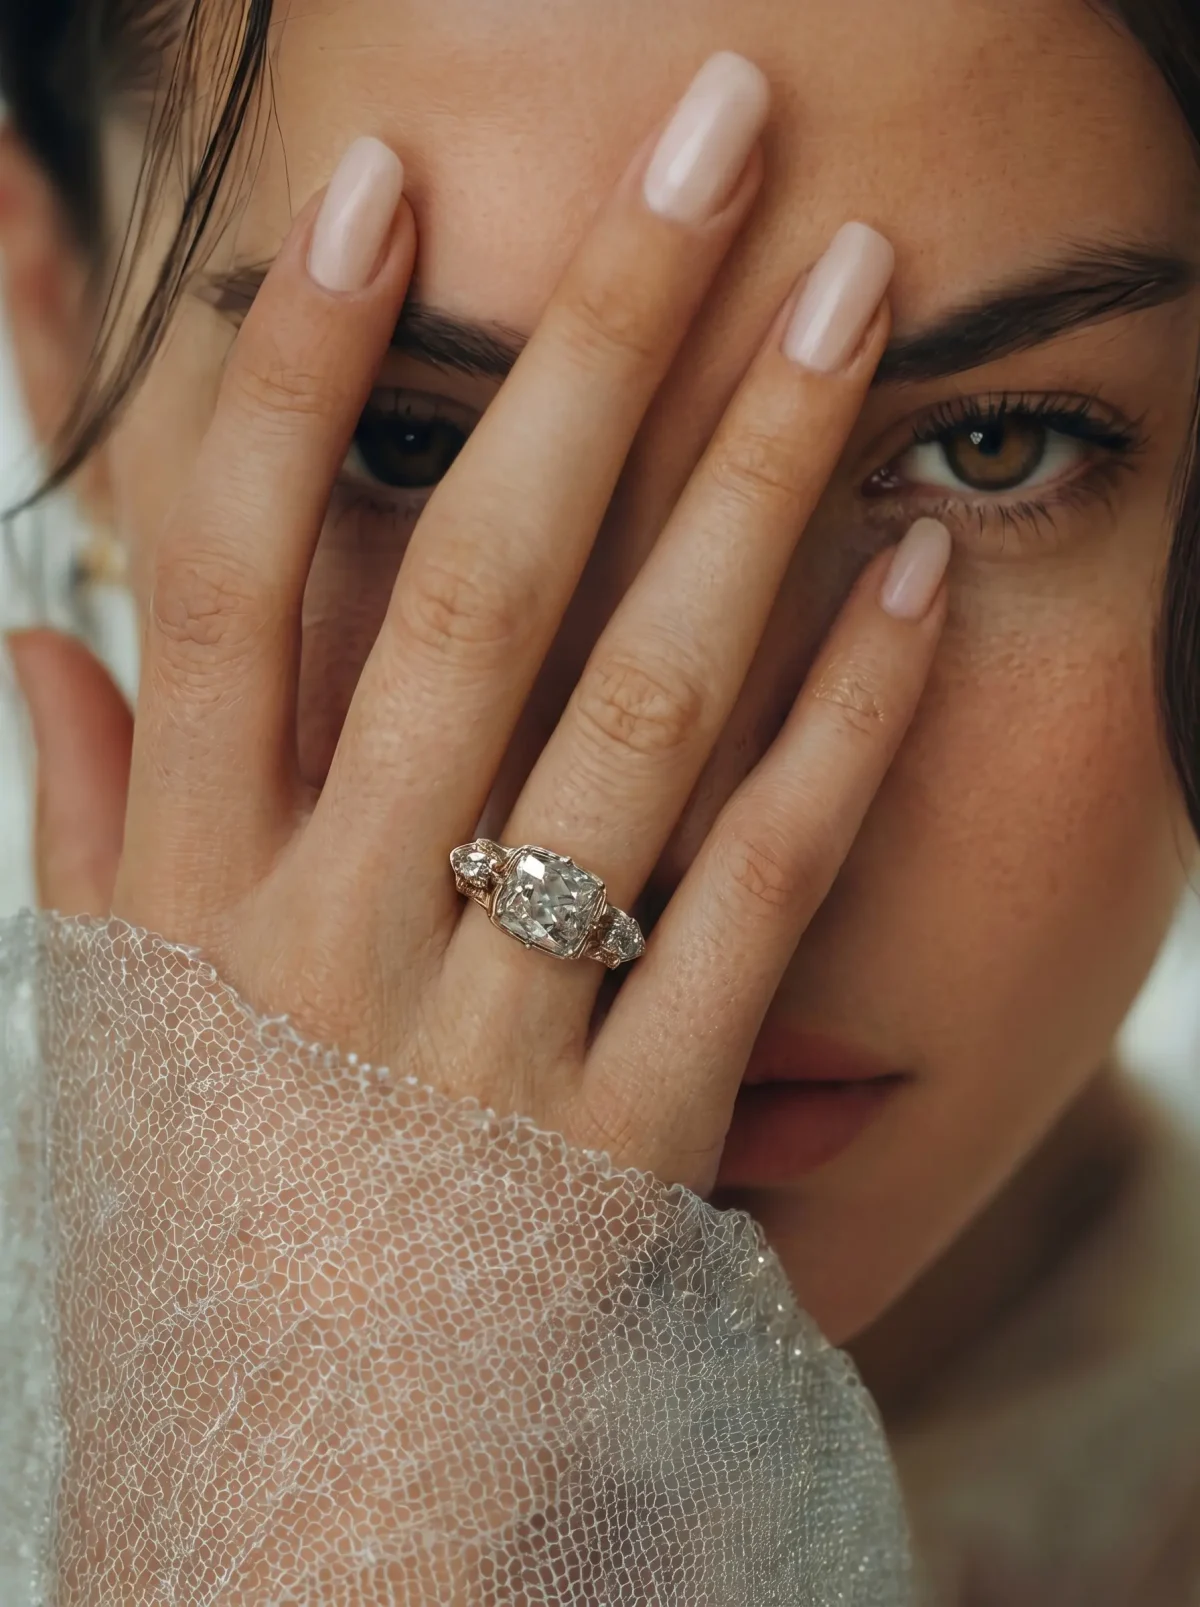
Step 3: Prepare the jewelry
At macro distance, every speck of dust becomes a retouching job. In GIA’s guide to gem photography, Robert Weldon and Denise Conrad (2015) note that a high-resolution camera records dust, marks and scratches as clearly as the stone.
- Clean each piece with a soft cloth, then handle it only in cotton gloves.
- Take off every tag and loop of string.
- Stand rings upright on a small pea of museum wax, hidden behind the band.
- Hang chains the night before the shoot so the kinks drop out.
- Check every piece against the order sheet: right size, right stone, right metal.
The last one sounds obvious. It’s also the one that costs a reshoot.

Step 4: Choose the styling: flat lay, still life or on a model
Jewelry styling photography comes in 3 forms. Each shows something the other 2 can’t.
| Style | What it’s for | Where it goes wrong |
|---|---|---|
| Flat lay | Sets and collections, sizes side by side | Pieces look smaller than worn |
| Still life | Campaigns and jewelry editorial photography: one piece, one mood | Props that compete with the piece |
| On a model | The scale shot and lifestyle jewelry photography: size, drape, movement | Styling that pulls the eye away |
The flat lay gets dismissed as the basic option. On a collection page, it’s the only image that shows how the pieces compare in size.
Flat lay jewelry photography is shot from directly above, with every piece the same distance from the lens. Tilt the camera and the pieces nearest to it look bigger than the rest.
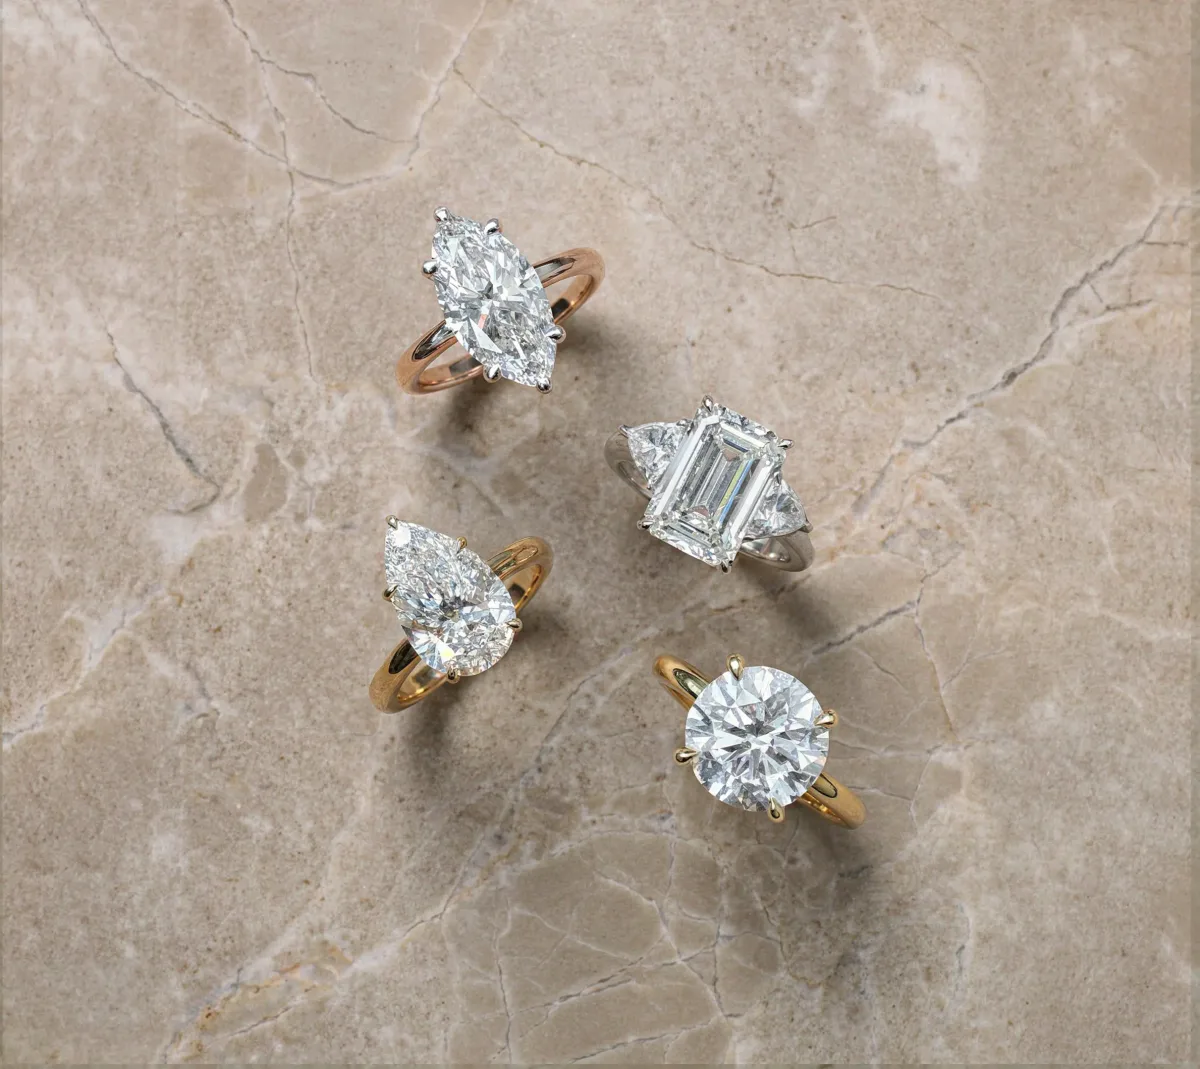
In a still life, every prop has 2 jobs. It should say something about the person in the brief, and it should be less interesting than the piece.

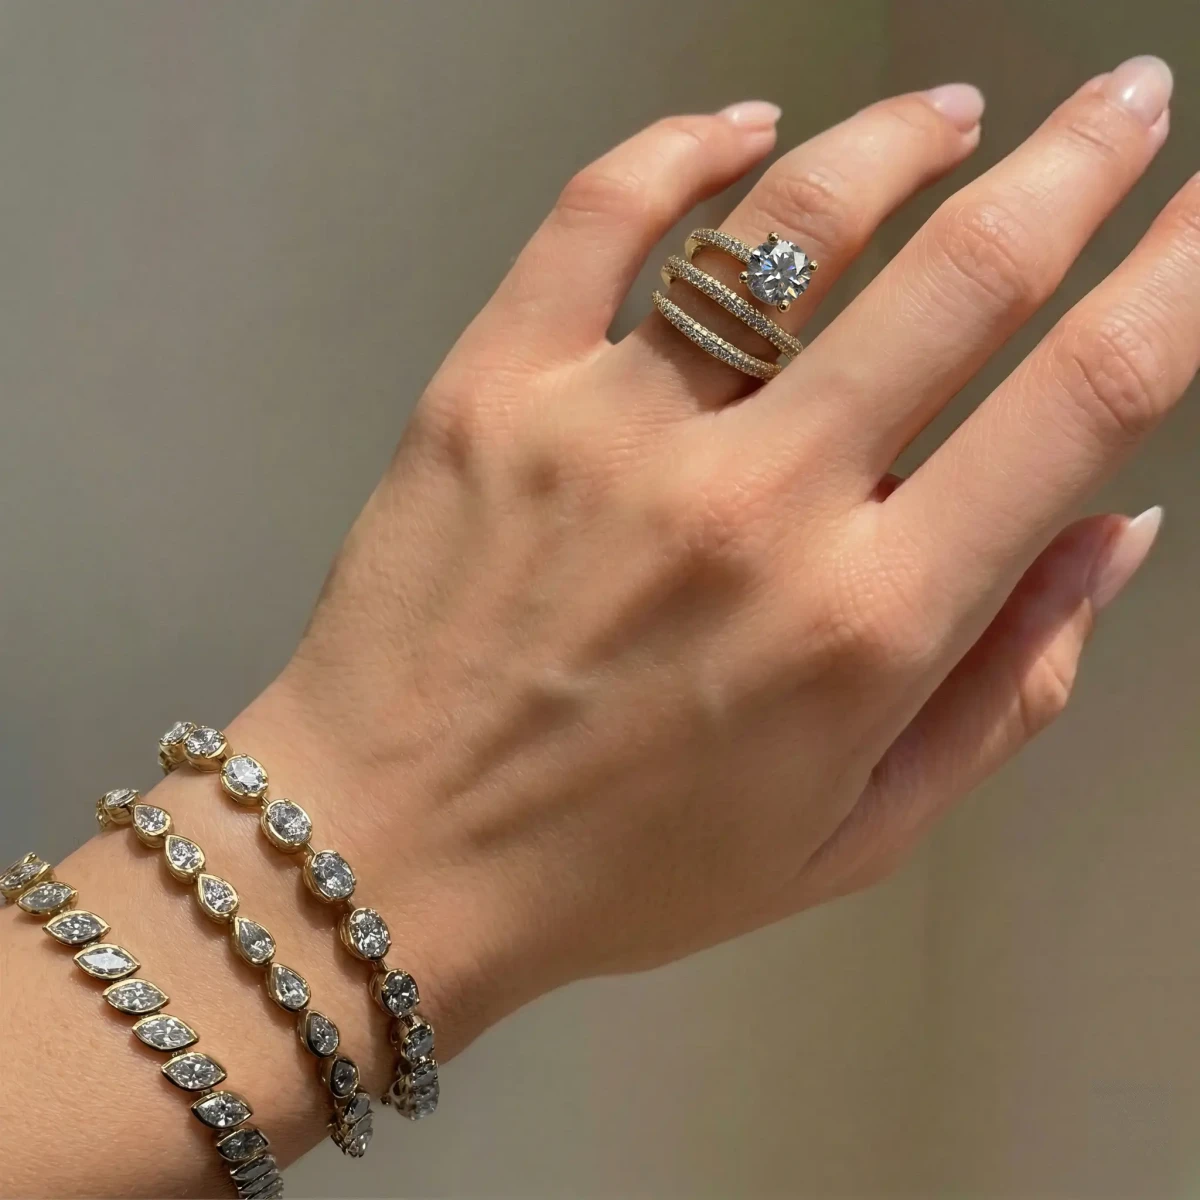
Shoot the scale shot from Step 2 on a model. Christian Holst’s 2017 research for Baymard Institute on in-scale product images found that 42% of shoppers try to judge a product’s size from its images. A ring on a hand gives them something to judge it against.
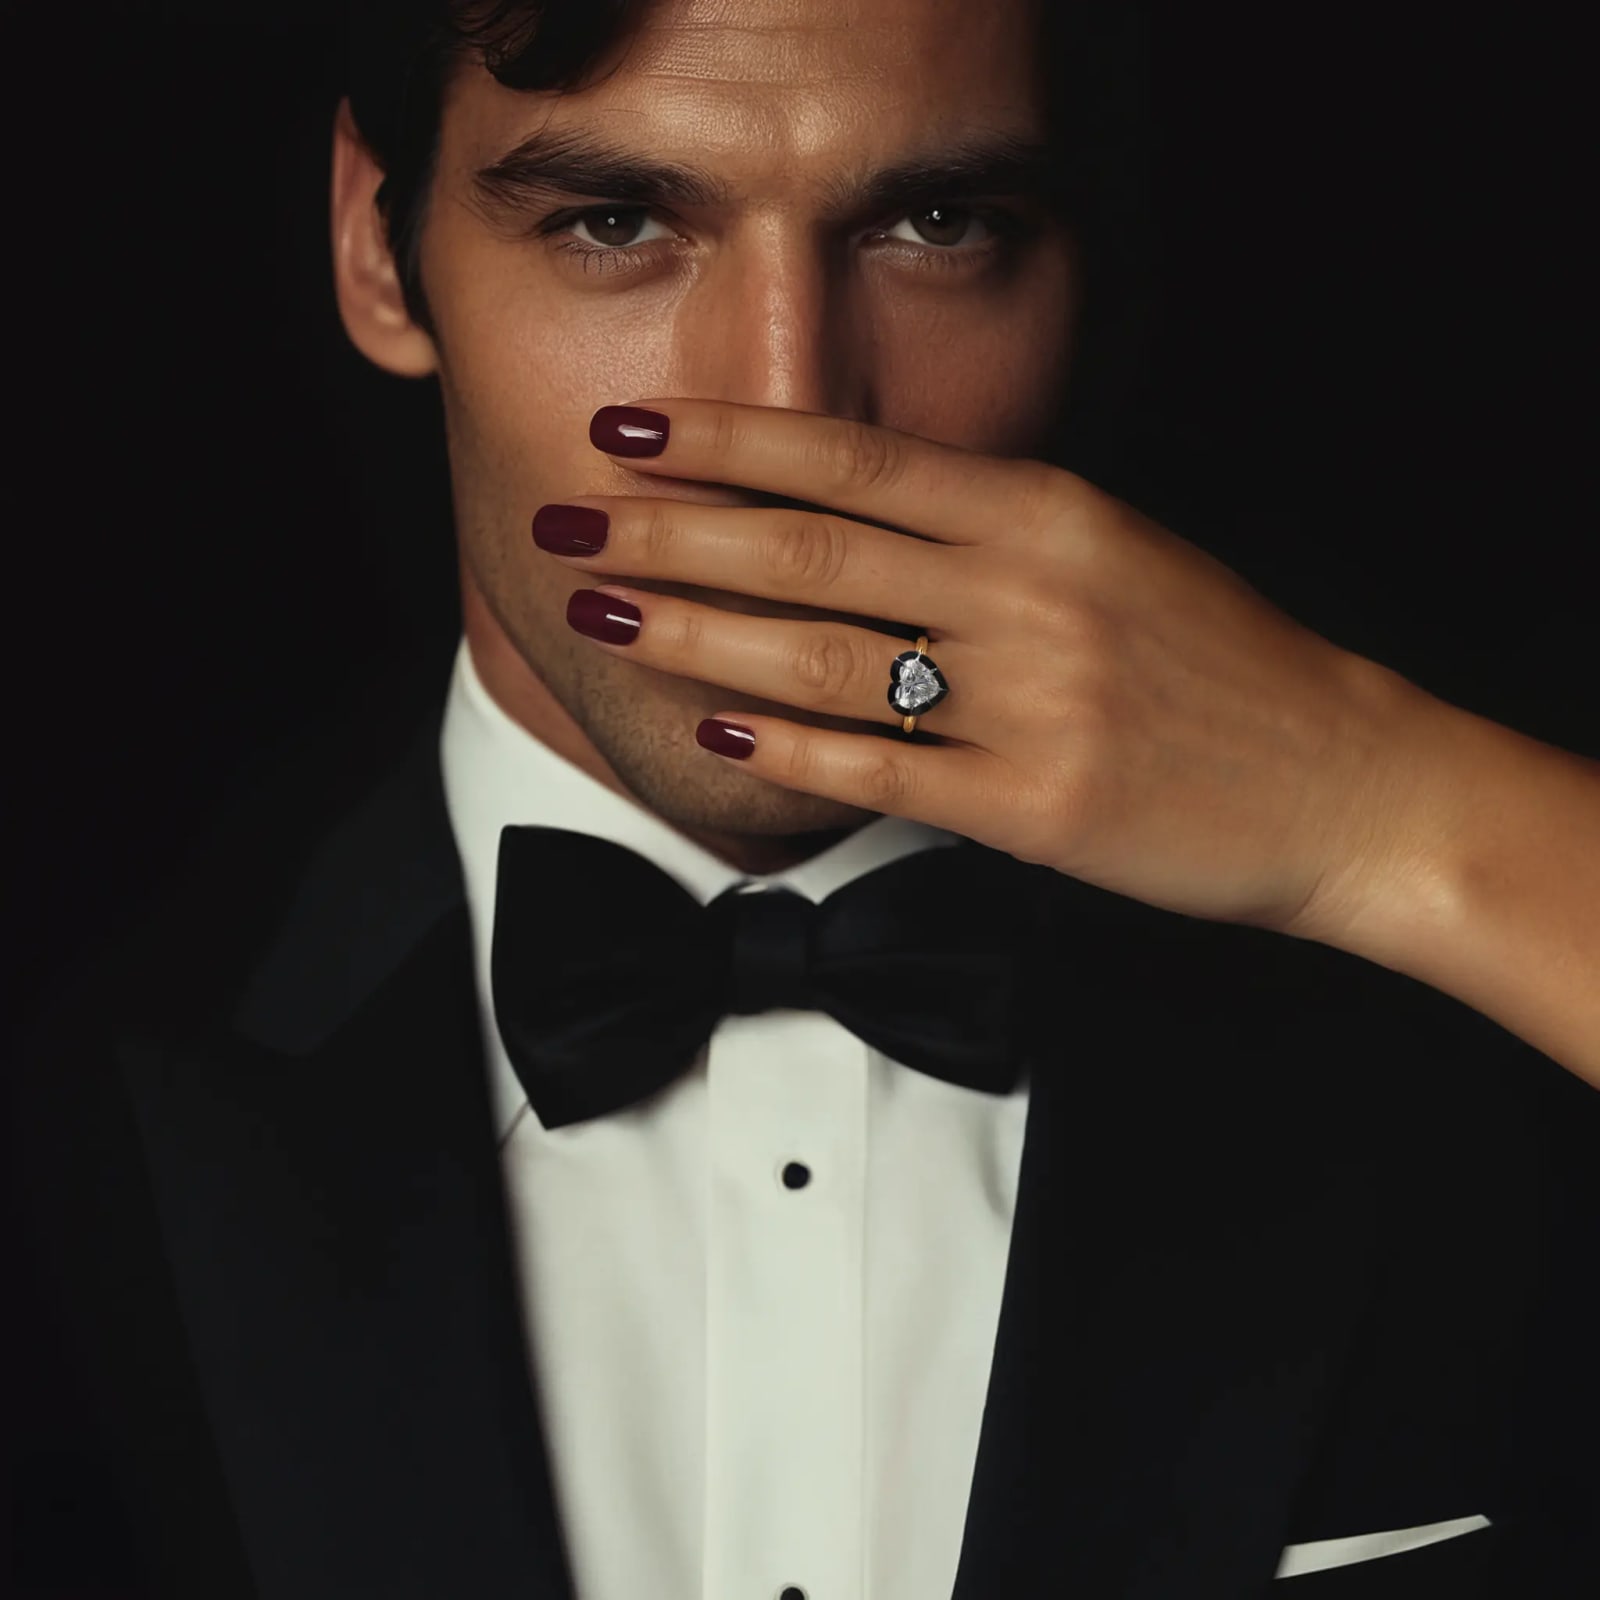
On a model, styling is mostly subtraction. Plain clothes in one color, nails in one neutral shade, nothing else on the hands or neck.
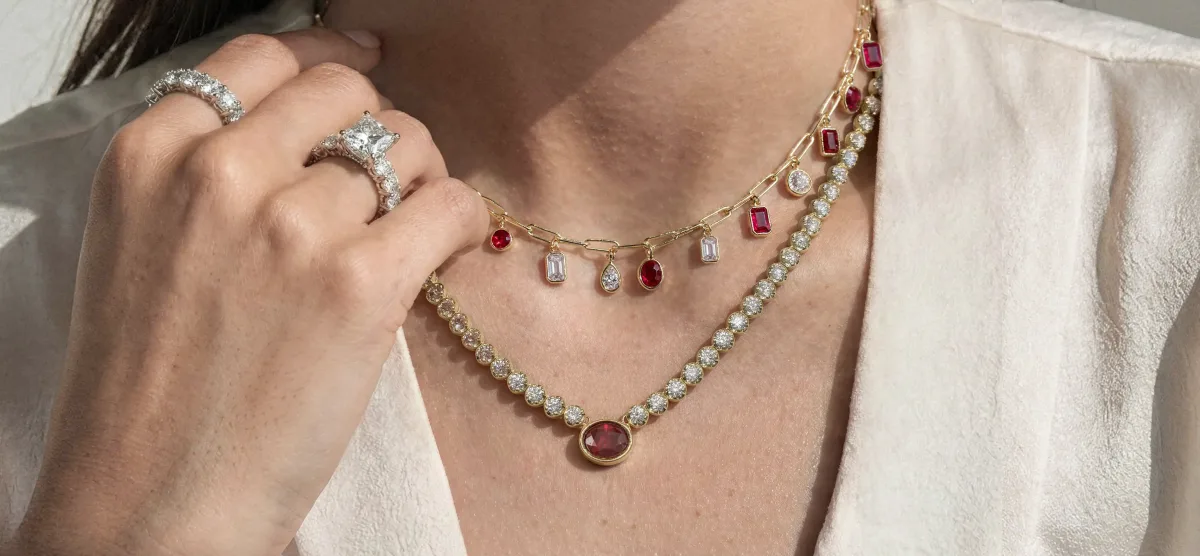
“Effortless” styling takes the longest on set. Every strand of hair that looks like an accident was put there.
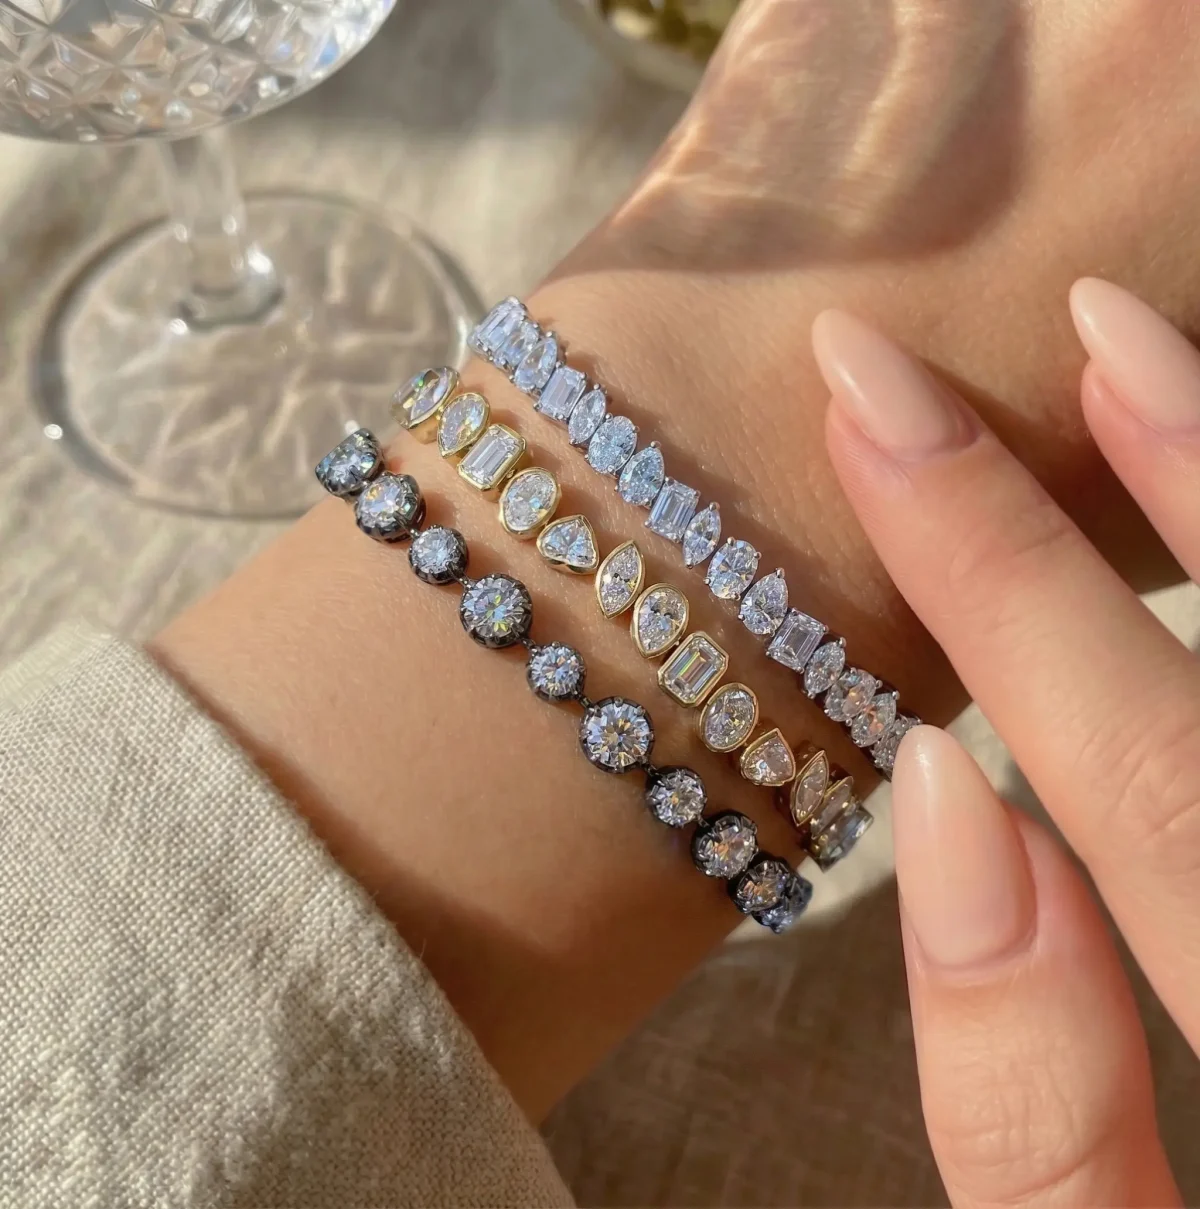
Step 5: Light metal and stones so they read true
Pick one kind of light and use only that. GIA’s guide warns against mixing daylight with room lighting. Each has its own color, and gold lit by 2 colors photographs like 2 metals.
Put a gray card in the first frame of every setup. Correct each image to that card later, and the gold in the first photo matches the gold in the last.
Then light by material:
| Material | What it needs | What goes wrong |
|---|---|---|
| Yellow gold | Soft light and white cards to warm the edges | Under cool light it reads as brass |
| Silver and white gold | Black cards around the set to give the metal edges | On white, the edges disappear into the background |
| Diamonds | One small, direct light added for sparkle | Soft light alone leaves them looking like glass |
| Colored stones | The camera looking straight down into the stone | Steep angles show less of the color |
| Pearls | Large, soft light from one side | A hard light puts a white dot on the surface |
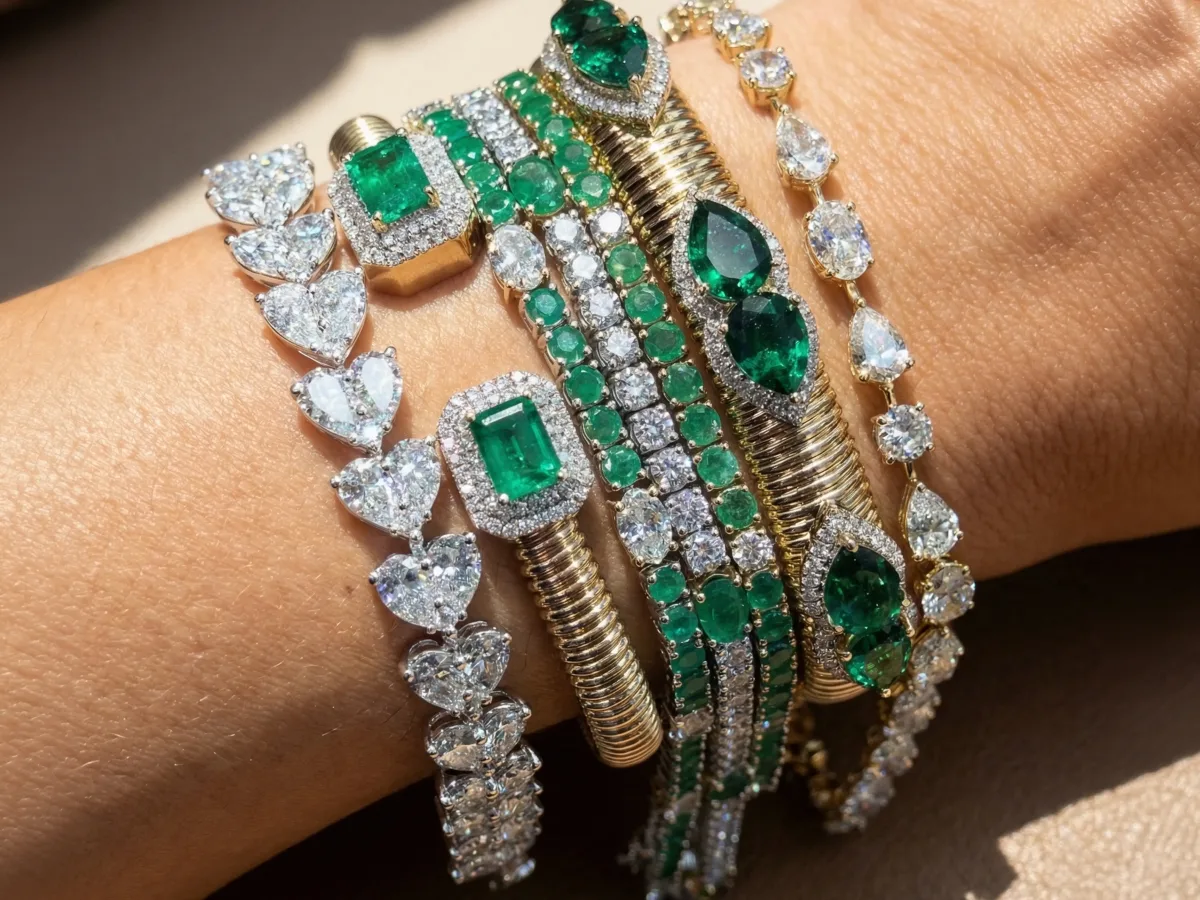
Polished metal is a mirror. It photographs whatever surrounds it, so in gold jewelry photography the cards around the set matter as much as the light itself. For a simple side-light setup with a phone, our earring photography guide walks through it step by step.
Step 6: Shoot for the zoom
Fine jewelry gets zoomed. Edward Scott’s 2020 research for Baymard Institute on image resolution and zoom found that 93% of desktop ecommerce sites let shoppers zoom product images. It also found that shoppers may abandon a product when the zoom can’t show the detail they came for.
That sets the kit:
- A macro lens that focuses close enough to fill the frame with one stone.
- A tripod, so every frame of a piece lines up with the last.
- Focus stacking. At macro distance, only a thin slice of a ring is sharp at once. Shoot a series of frames, moving the focus a little each time. Then merge them in software into one image, sharp from the front prong to the back of the band.
- Shooting tethered, with the camera connected to a laptop, so each frame is checked at full size while the piece is still on the set.
A soft prong is easy to miss on the back of the camera. On a large monitor, it is the first thing you see.
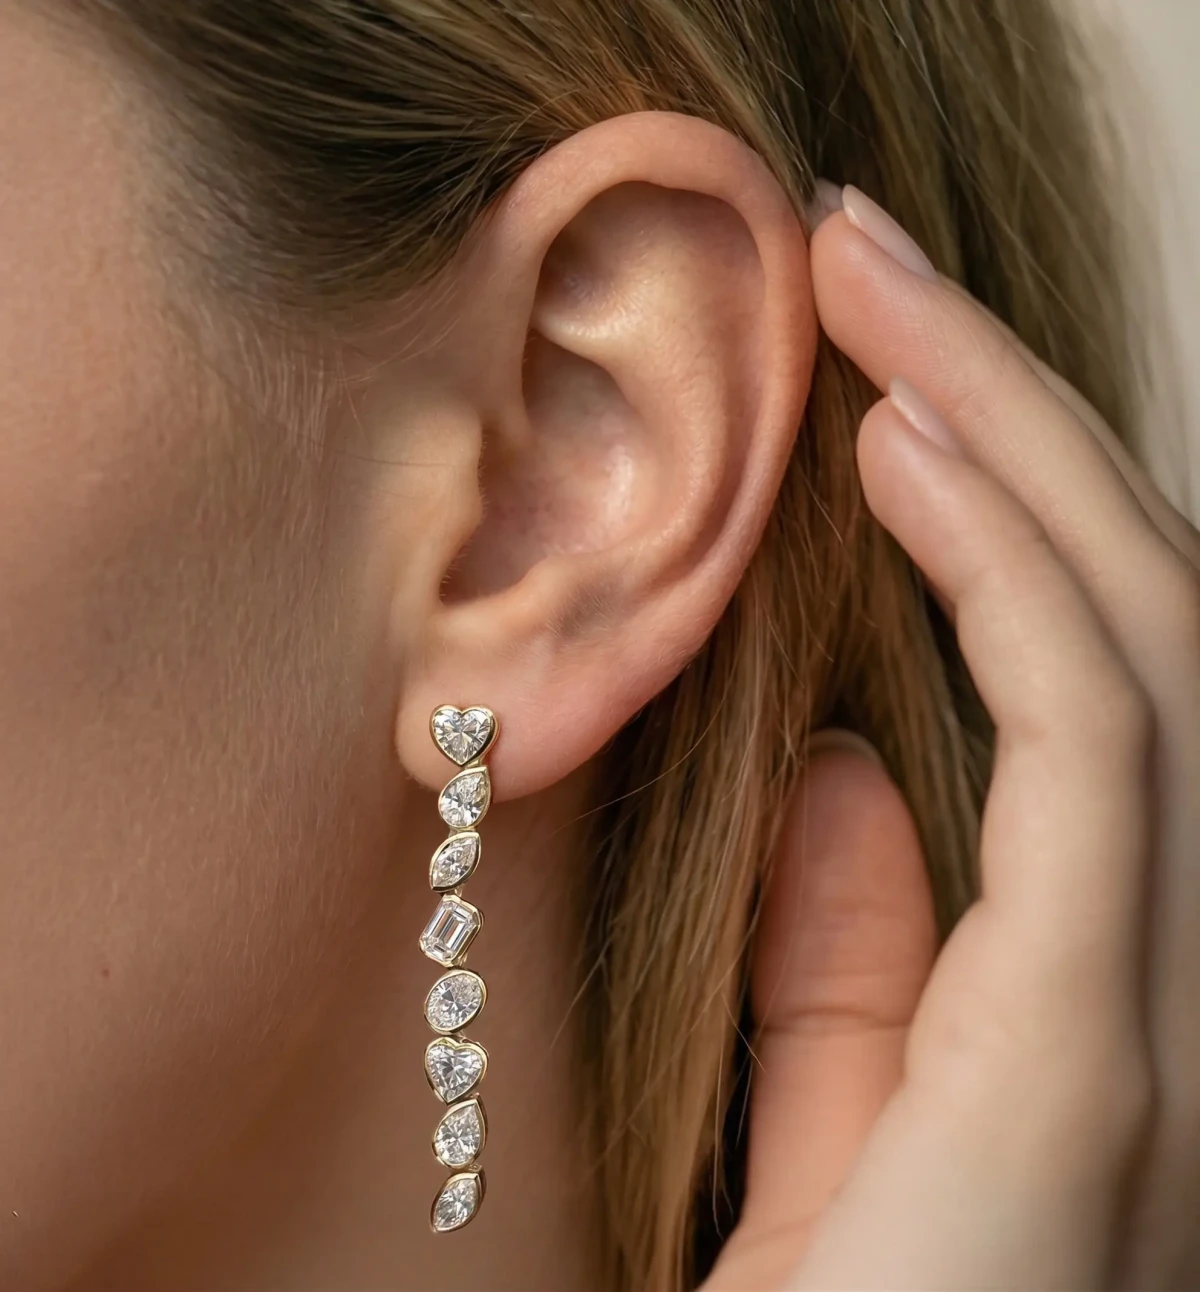
On the day, shoot by setup, not by piece. Do every macro under one light, then every flat lay, then every worn shot, with gold and silver in separate rounds. Moving the lights between pieces is how one collection ends up looking like 3.
Step 7: Edit, then check every piece against the real one
Remember the museum wax from Step 3. It is the rule for the whole edit: remove whatever held the piece up, never the piece.
That means the wax under the ring, the line holding a pendant and your camera’s reflection in a polished band. The hammer marks on handmade work, the color of the metal and the inclusions in a stone all stay.
Then check each finished image against the piece itself, not against the raw photo. Count the stones. Check the shape of the clasp.
Compare the color of the metal by a window in daylight. An image that looks right on screen and wrong in the hand comes back as a return.
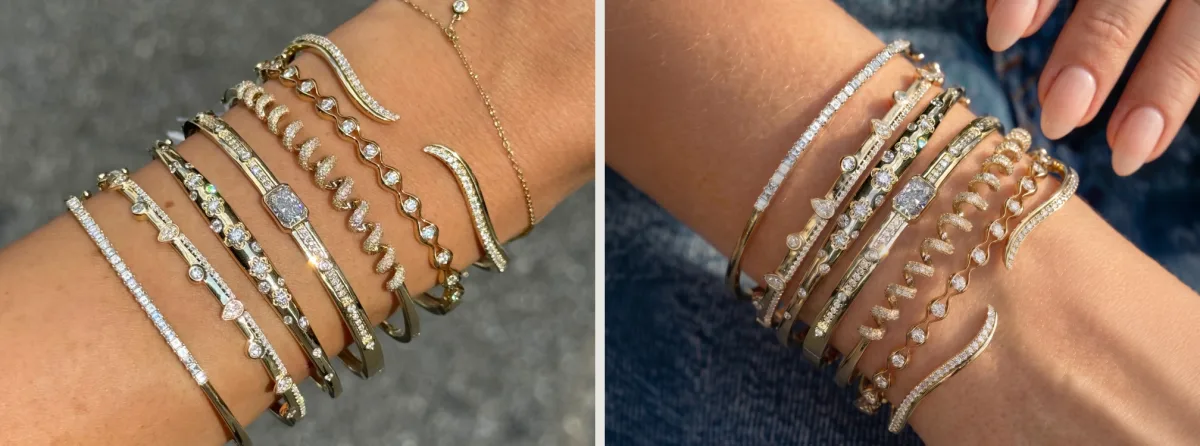
Keep the crop, the margin and the background tone the same for every piece in the shoot. On a collection page, that is what makes separate photos read as one range.
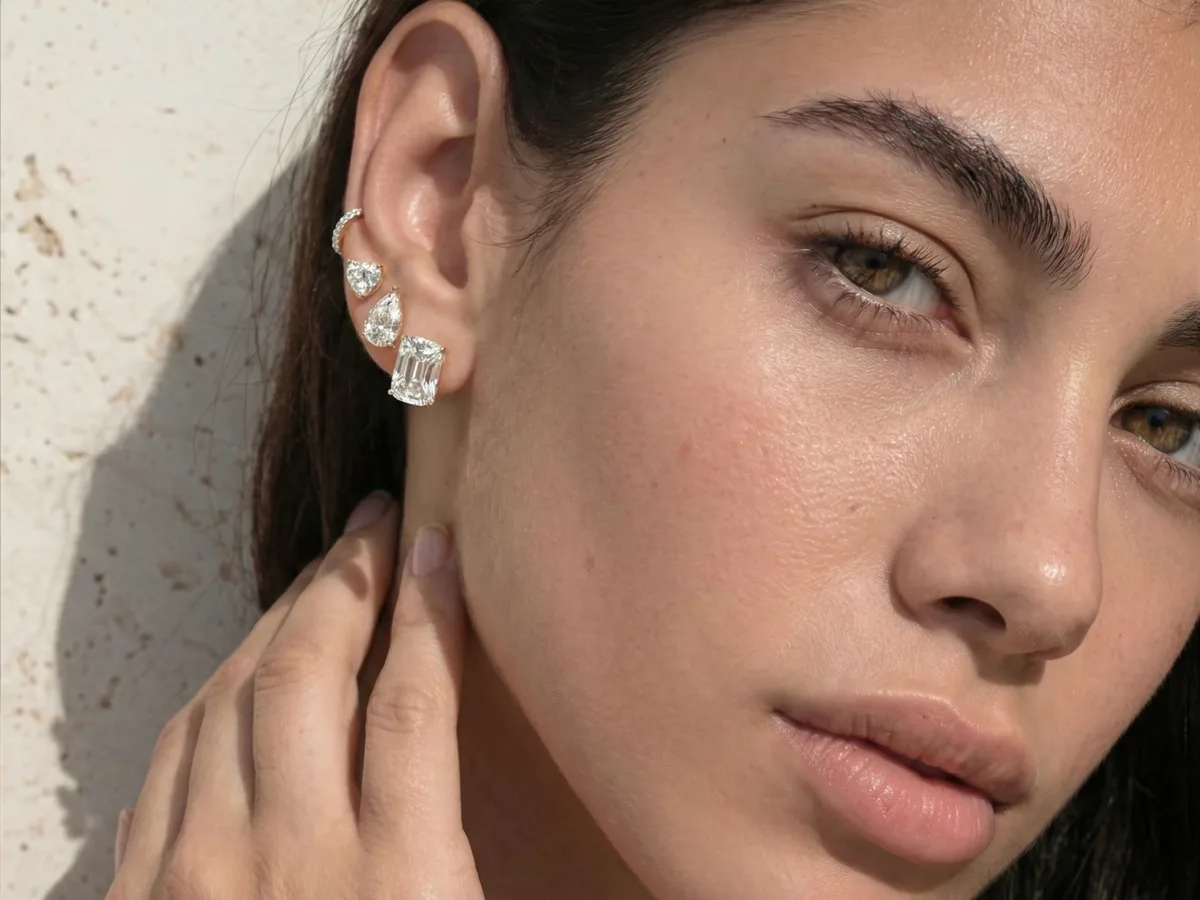
Before your next jewelry photoshoot, open the folder from the last one. Count the images you shot, then count the ones you actually posted. If most of the shoot never left the folder, the day had a camera and no shot list.
You can see how a planned set reads across a range in our work. For why the product itself should never be invented, see our comparison of AI product photography vs a photographer.
A brief, a shot list, cotton gloves, museum wax, black cards, a macro lens, a focus stack and a check against every piece, then all of it again next season so the new pieces match the old ones. Or send one phone photo per piece. The jewelry stays exactly yours. We build the light, the setting and the model around it, in the same look every month. We can build one image for you at no cost.
Hypervision. Decided before the shutter.
Questions people ask
What is the best way to photograph jewelry?
Plan the shots before the shoot, then use one soft light, a tripod and a macro lens. Clean every piece first and check the finished images against the real jewelry. Most weak jewelry photos come from a missing plan, not missing gear.
How do you do a jewelry photoshoot at home?
Use a window with a thin curtain as your only light, with a white card opposite it, and put your phone on a small tripod. Turn the room lights off so the colors don't mix. Stand rings on a little museum wax and hang chains before the shoot so they lie straight.
Is natural light good for jewelry photos?
Yes, when it is soft and it is the only light in the room. Direct sun gives hard reflections, and daylight mixed with room lights gives the metal 2 colors. An overcast day or a curtained window works best.
Is a jewelry photoshoot with a model worth it?
For anything worn, yes. A model shows the real size and how the piece sits on the body, which a flat lay can't. One worn image per piece is enough for most product pages.
What are some creative ways to photograph jewelry?
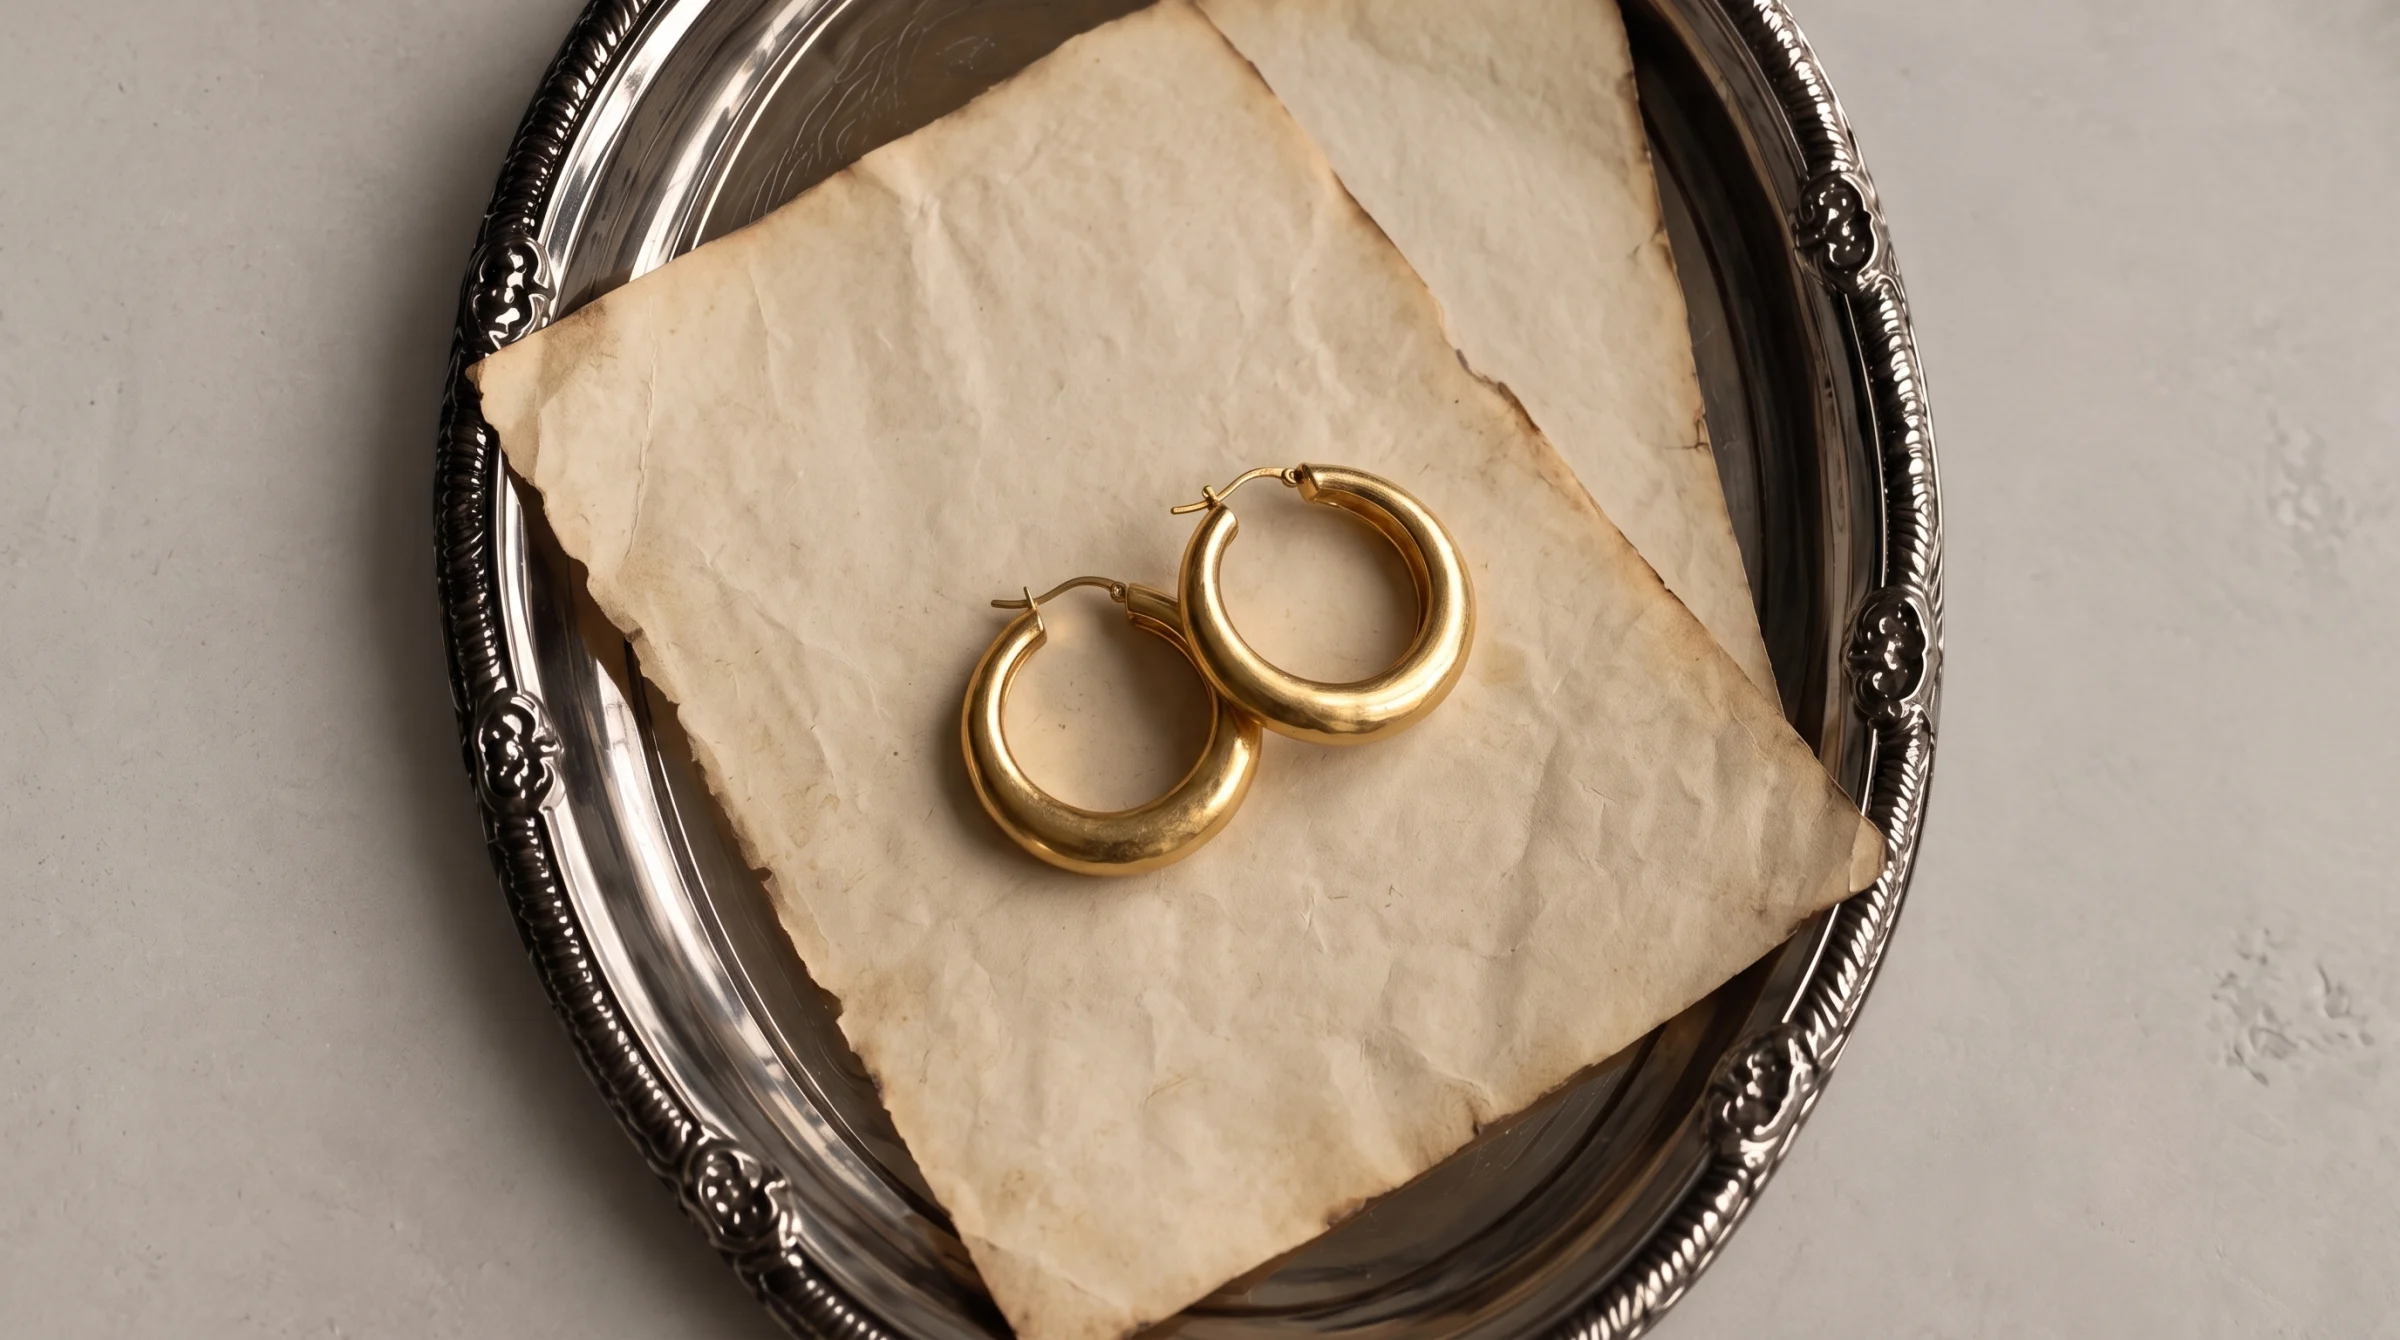
Give the piece a small scene: a ring on folded linen, a chain across an old letter, a pendant beside a cut lemon. Light from a window blind adds pattern without adding props. Choose everything to suit the person in your brief, and keep it less interesting than the jewelry.
What should a model wear for a jewelry photoshoot?
Plain clothes in one solid color that contrasts with the metal. Keep nails in one neutral shade and take off any other jewelry, so the piece is the only thing catching light.
How many images does each piece need?
At least 3: the main product image, a scale shot on a model and a macro of the detail. Add a campaign image when the piece is part of a launch.
Can you do a jewelry photoshoot with a phone?
Yes, for the main images and most close-ups. Use the phone's telephoto lens instead of digital zoom, a tripod and soft light. A macro lens and focus stacking still do better on the smallest details, like prongs and engraving.