Earring Photography: Studs, Hoops and Drops
Earring photography for jewelry brands: shoot studs, hoops and drops, show real size on the ear and keep pairs matched. Get one image on your own piece, free.
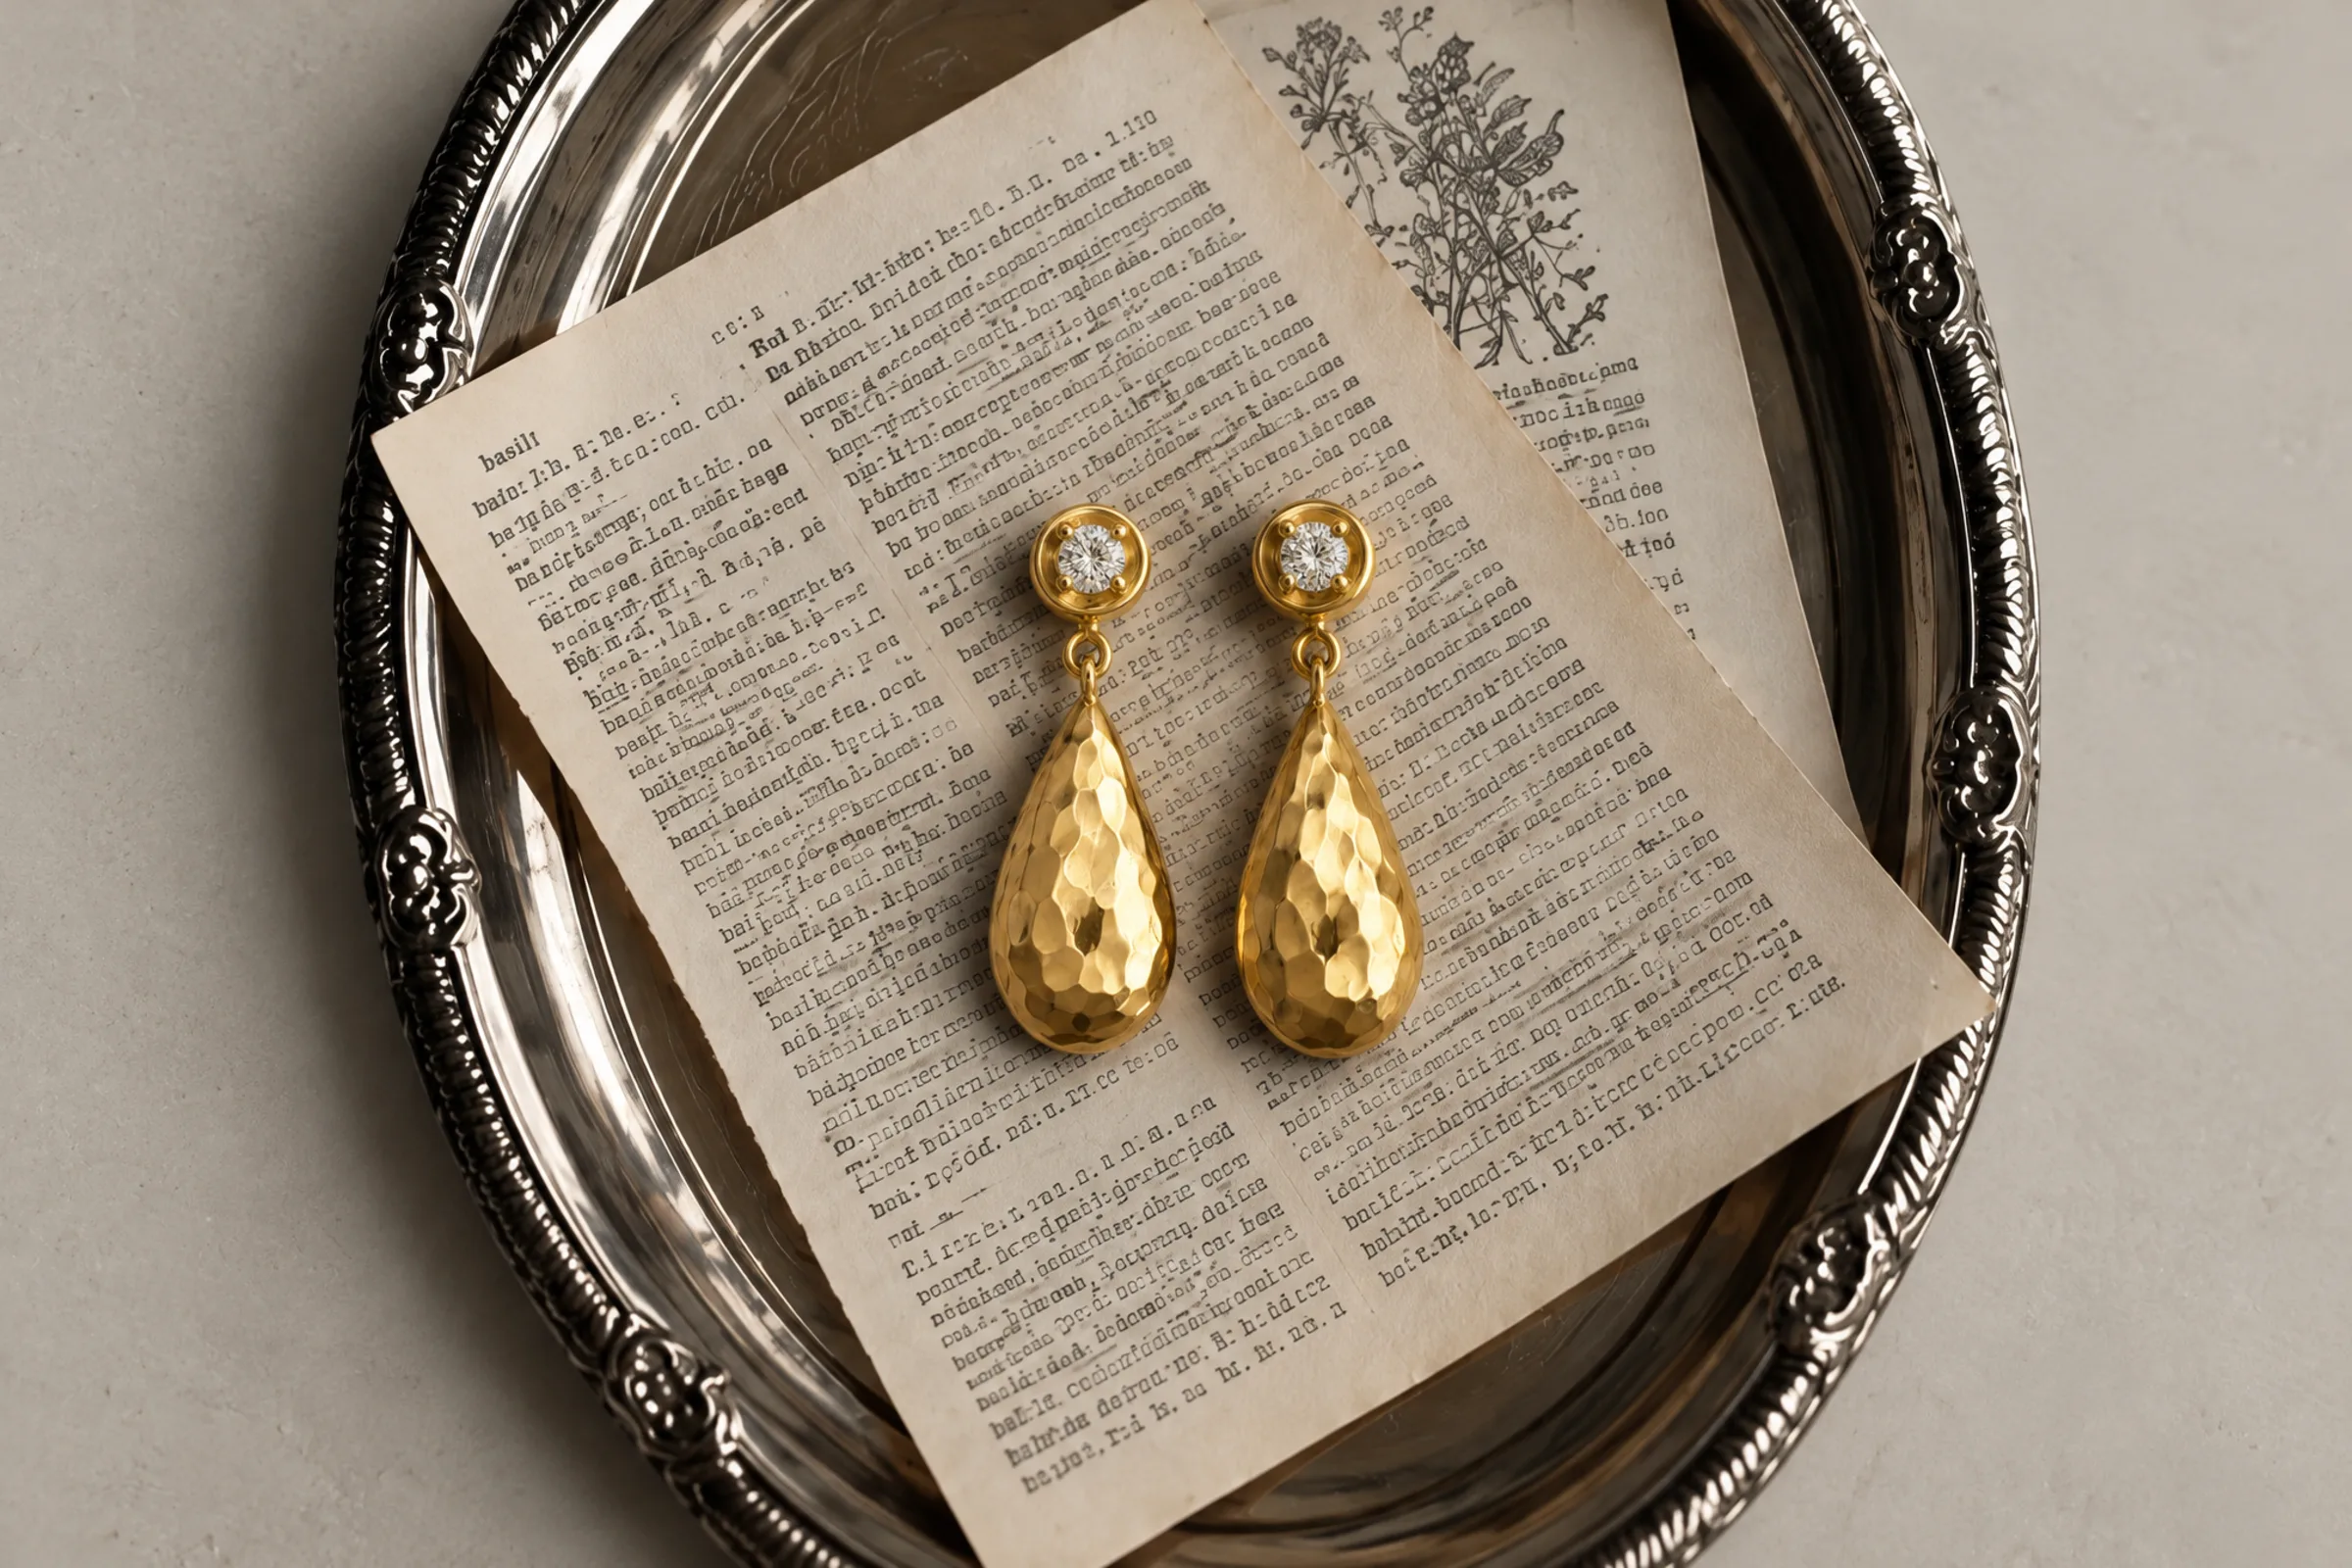
Most earring photography proves 1 of the 3 things it has to: what the earring looks like. It skips the size on the ear and how well it’s made.
We build jewelry imagery for brands every month, usually from photos the founder took on their own phone. The design is the easy part. Where the earring sits, and how well it’s made, is what decides the sale.
What earring photography has to prove
Flat-lay earring photos earn their place. They are clean, cheap to repeat and easy to keep consistent across a catalog. For the first image on a product page, they are usually right.
The problem is when they are the only image.
A buyer looking at an earring is asking 3 questions:
- What is it? The design, the metal, the stones.
- How big is it on me? The drop length, the width against the lobe.
- Is it well made? The setting, the clasp, the finish on the back.
A flat lay answers the first. The other 2 decide whether the cart gets finished.
Earring photography setup: light, background, camera
You don’t need a studio for a usable earring photo. You need control over 3 things.
Light
Soft light from one side, with a white card on the other side to lift the shadows. A window with a thin curtain does this well. Overhead room light does it badly, because it puts a hot spot on top of every stone and leaves the setting underneath in shade.
Avoid the flash. It hits the metal straight on and comes back as a white blot.
Background
For the main product image, use a plain background in white or a soft neutral. It keeps the page clean and it keeps a collection consistent.
Dark backgrounds make polished gold look rich, and they make dark stones disappear. Choose by the piece, then keep the choice for the whole collection.
Camera
A recent phone is enough for most earring product photography. Tap the phone’s 2x or 3x button instead of pinching to an in-between zoom, which only crops and throws away detail. Put the phone on a small tripod, tap to focus on the front of the stone, and lock the exposure so it doesn’t shift between shots.
For detail images, get physically closer rather than cropping later. A crop of a wide shot never holds up the way a close shot does.
How to photograph stud earrings
Studs are small, so the risk is that they read as dots.
Shoot the pair at a slight angle rather than straight down. A little perspective shows the depth of the setting and how far the stone sticks up from the metal. Straight overhead flattens all of that.
Stand one stud on its post with the back visible. The back is part of what the buyer is paying for, and a butterfly back reads very differently from a screw back.
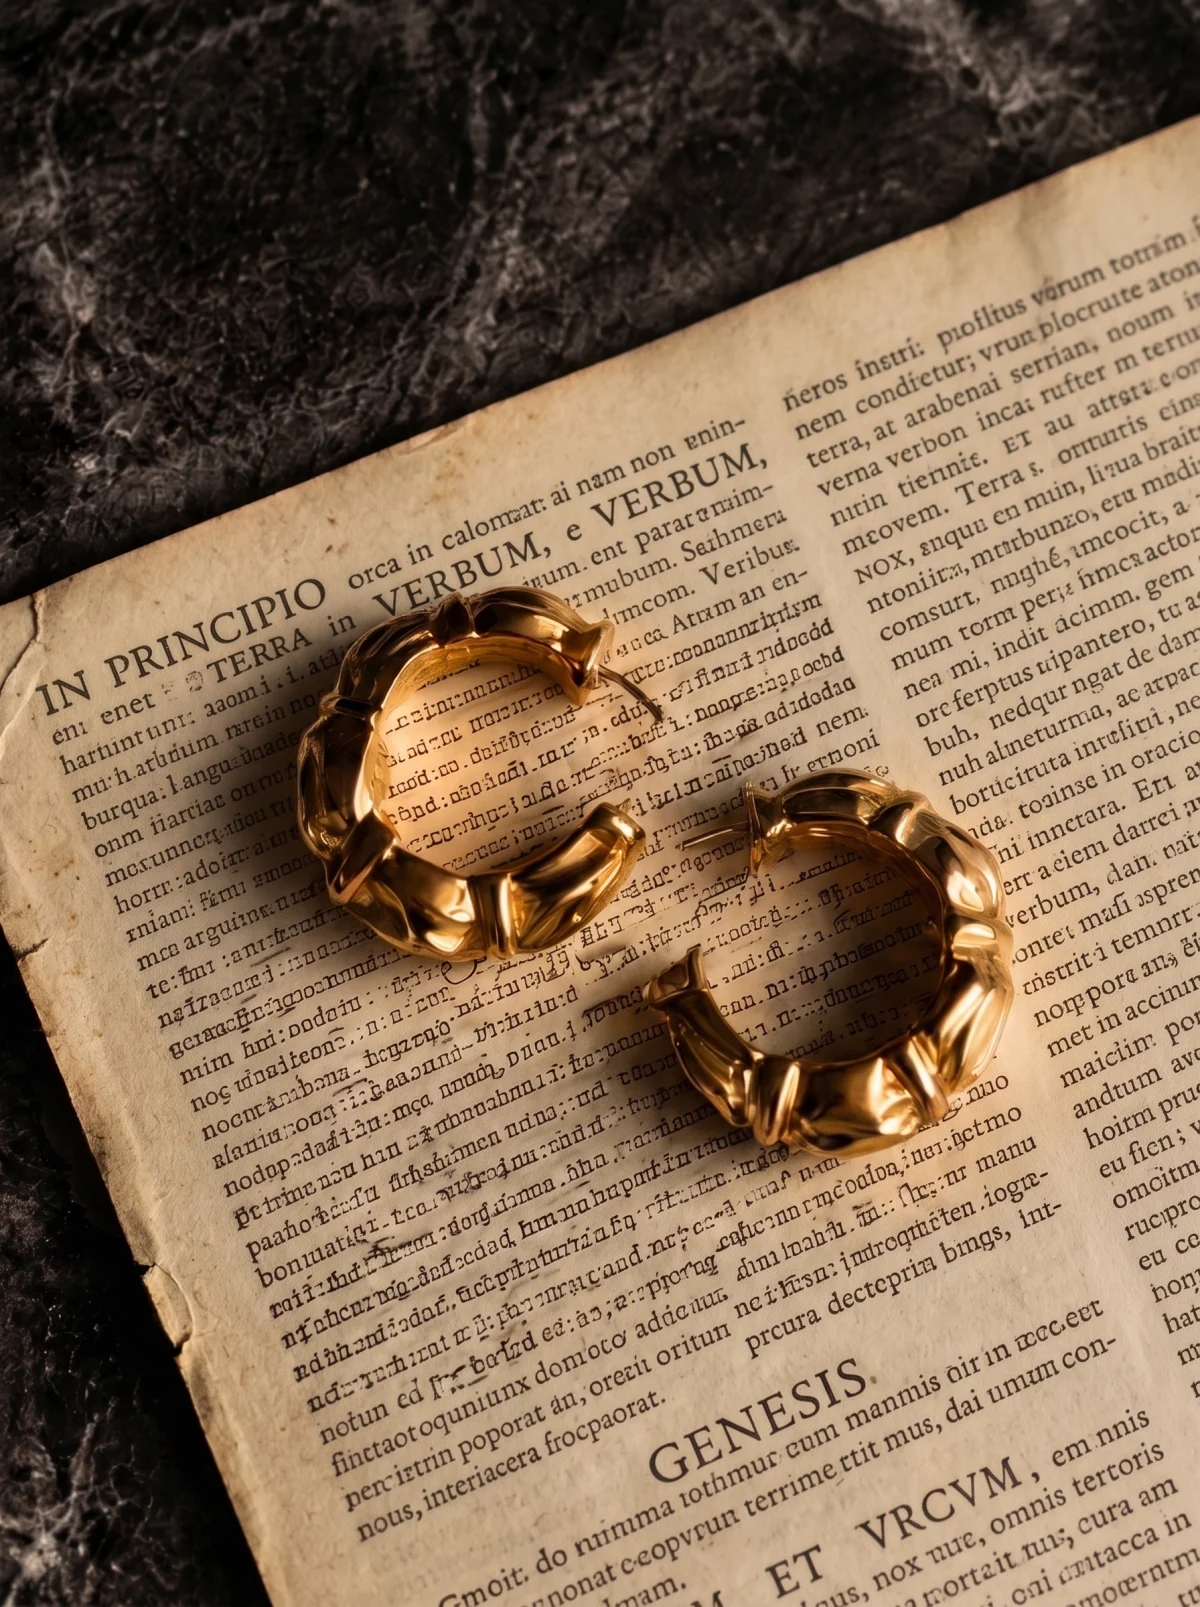
How to photograph hoops and huggies
The 2 measurements a buyer wants from a hoop are its diameter and its thickness. A front view only gives one of them.
Add a side profile. Turned side-on, a hoop shows its thickness and how the hinge closes. For huggies, which are meant to sit tight to the lobe, the on-ear image matters more than for any other style.
How to photograph drop and dangle earrings
Drops are about length and movement.
For the product shot, suspend them. Clear fishing line clipped to a frame lets the earring hang the way it does when worn, so the length reads naturally. Lying flat, a drop earring looks shorter and stiffer than it is.
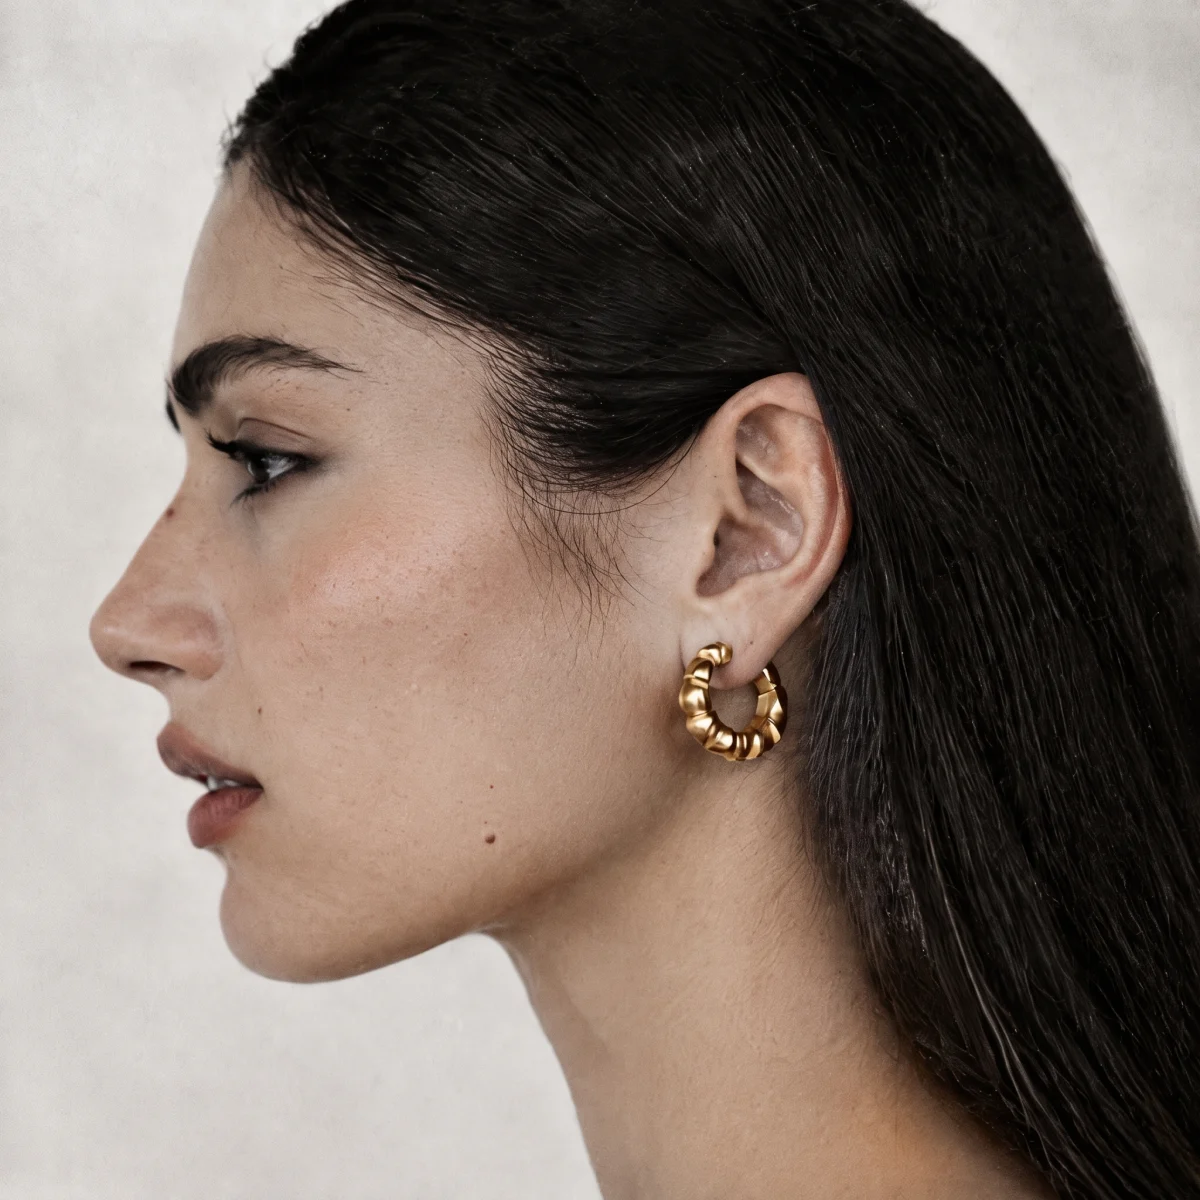
Then put it on an ear. Length on a white background is a number. Length on an ear is a decision the buyer can actually make.
Show the earring on the ear
An earring photographed on its own has no latitude. Nothing in the frame tells you where on the body it lands: at the lobe, at the jaw, or somewhere in between.
One worn image fixes that. Christian Holst’s 2017 research for Baymard Institute on in-scale product images makes the general case: shoppers try to judge size from photos, and many product pages give them nothing to judge it against.
Here is a test to run now. Open your best-selling drop earring on your phone. Find the image that shows where it ends relative to the jaw. If there isn’t one, every buyer is guessing the length, and some of them are guessing wrong.
Keep the pair matched
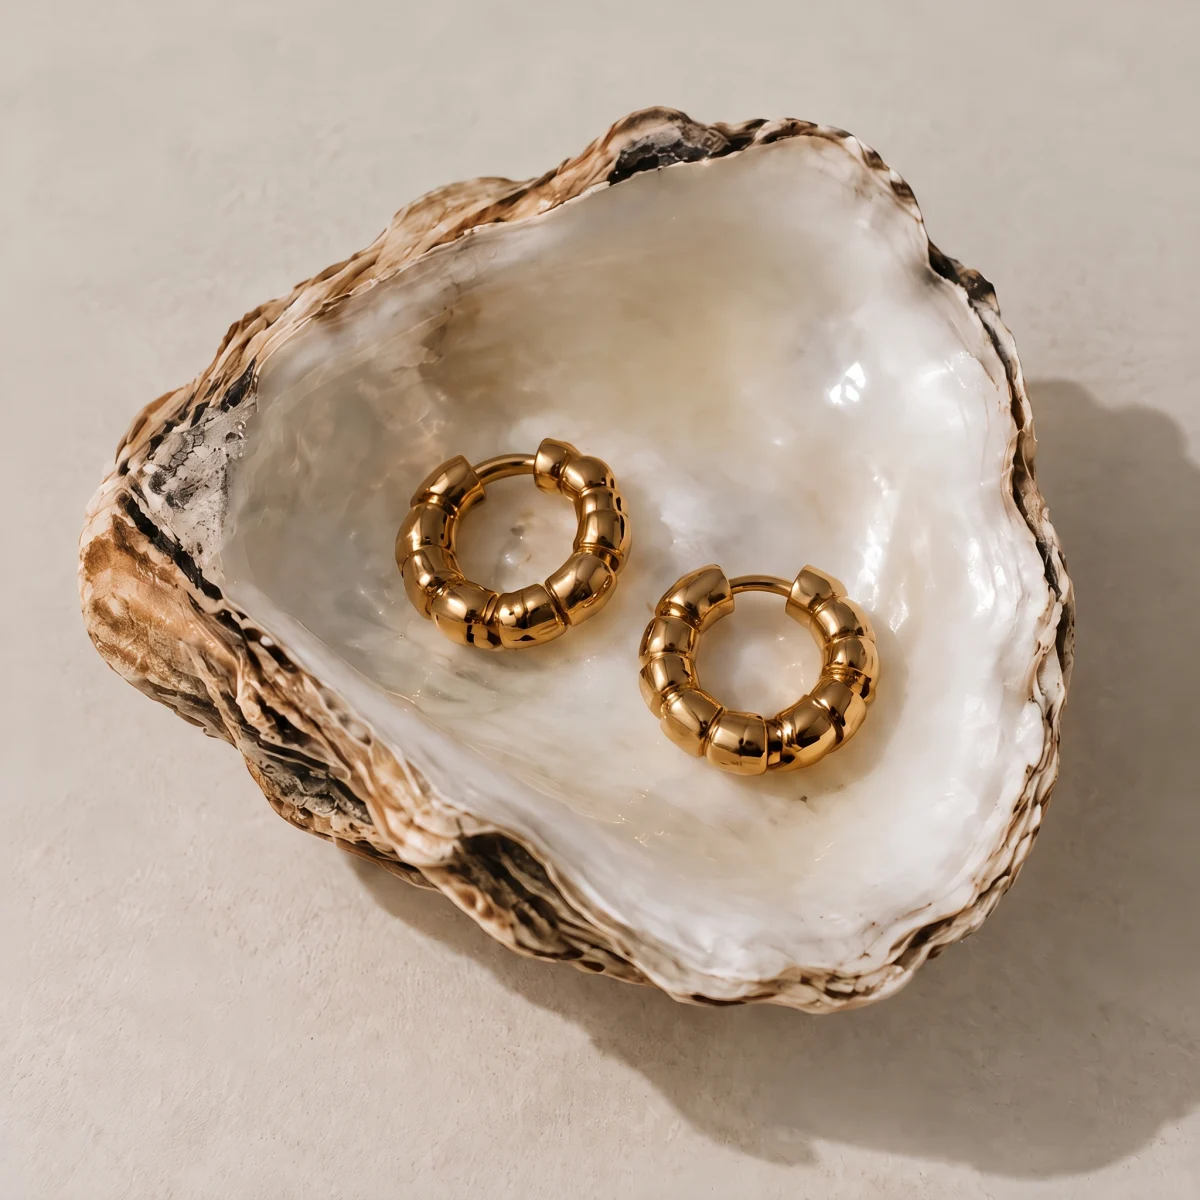
A pair photographed slightly out of line reads as a pair that doesn’t match. The buyer can’t tell the difference between a crooked arrangement and a crooked earring (and they don’t try).
Line them up properly. Same height, same angle, same distance from the camera. If one is turned to show the back, turn it on purpose, by a clear amount, so it reads as a choice.
The close-up that proves the price
On fine jewelry, the macro shot is the evidence. It shows the prongs holding the stone, the finish inside the hoop, the hallmark on the back.
The description says hand-set. The photo says blur.
If an image can’t hold up when the buyer pinches to zoom, the craftsmanship is something they are being asked to take on trust. Edward Scott’s 2020 Baymard guidance on image resolution and zoom covers why shoppers zoom and what happens when the image runs out of detail.
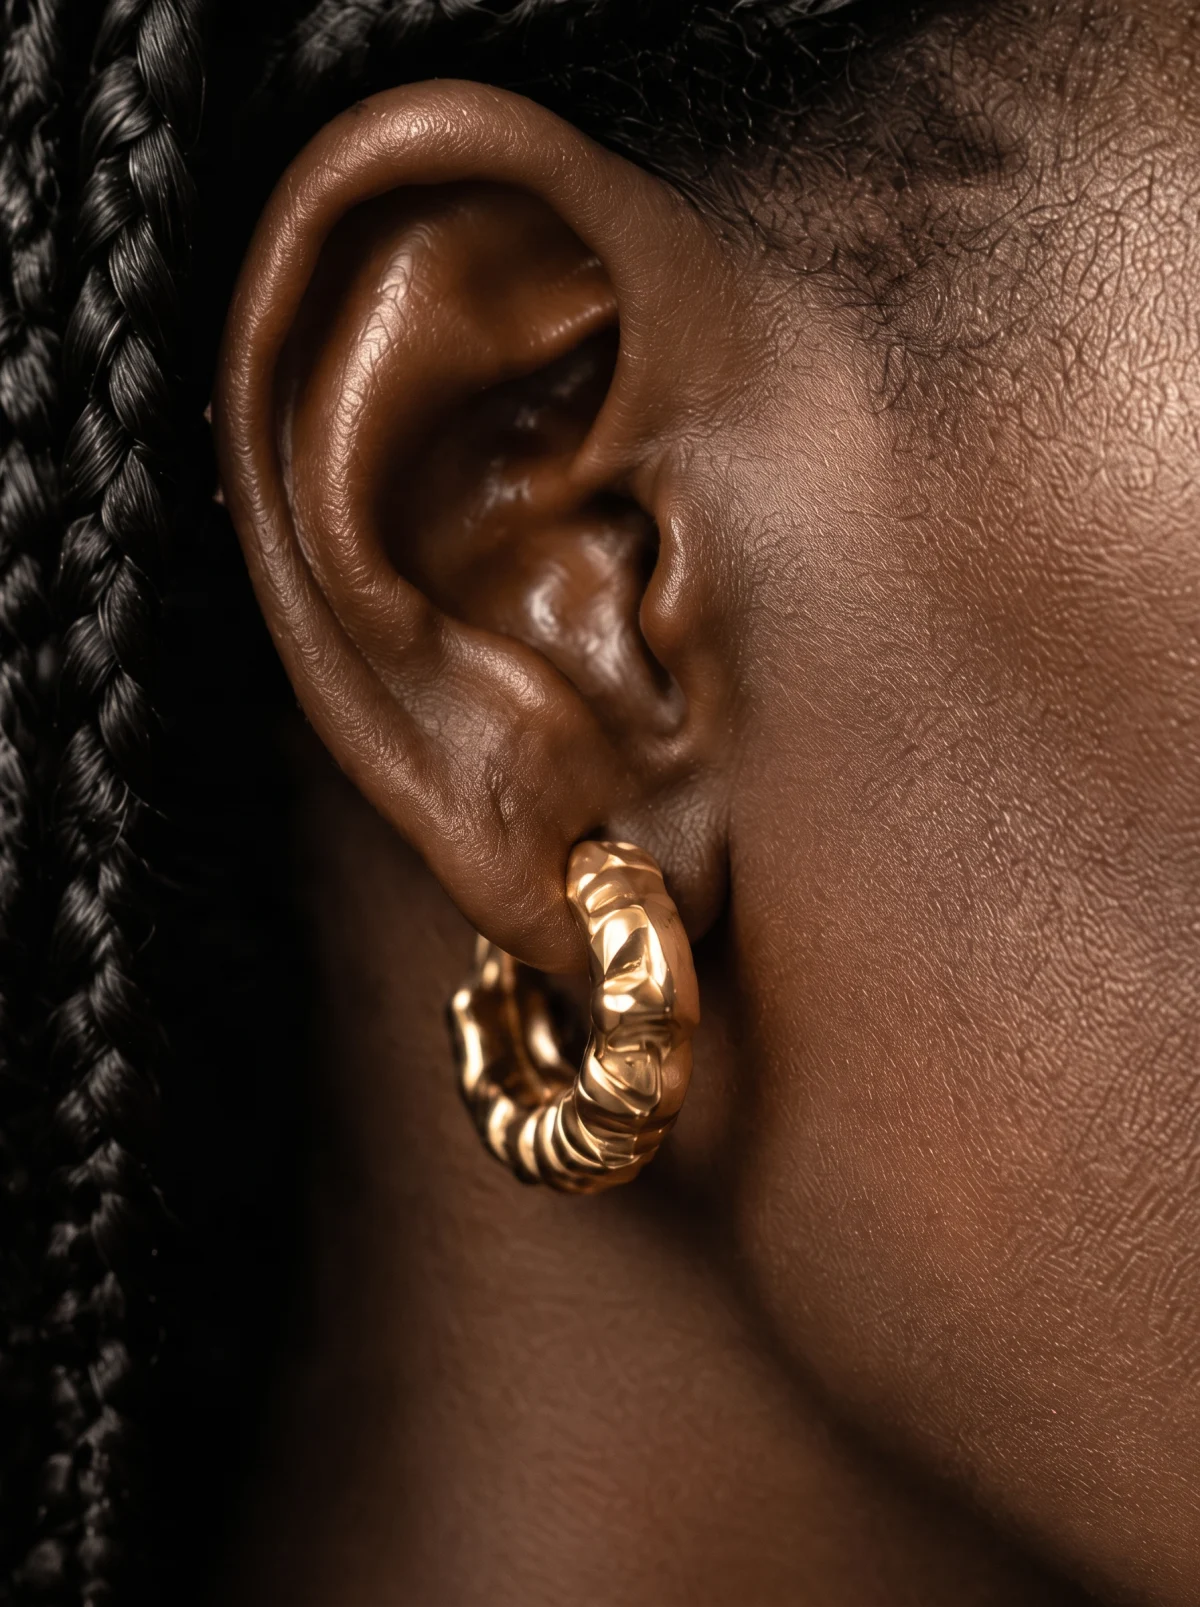
For a close-up that holds, light from the side so the metal shows its texture.
Editing earring photos without faking them
Editing is where honest earring photos quietly turn into dishonest ones. The line is simple: remove what wasn’t part of the piece, never change what was.
Remove dust, lint, fingerprints, the fishing line holding a drop, and the stray reflection of your phone in a polished surface. None of those are what the buyer is paying for.
Leave alone the color of the metal, the inclusions and facets inside a stone, the texture of a hammered finish and the true shape of the setting. Those are the product.
Check the color last, with the real piece next to the screen in daylight. Yellow gold that looks rose on a monitor, or white gold that looks silver, will come back as a return.
Keep the crop the same across the collection: the same margin around the pair, the same position in the frame. On a category page, consistent crops make a range look planned. Inconsistent ones make it look like a clearance rack.
Mistakes that make fine earrings look cheap
None of these are about talent. They are about attention.
- Dust and fingerprints. In close-up earrings photos, one fingerprint becomes the main subject. Clean with a lint-free cloth and handle with gloves.
- A color cast on white metal. Warm room light turns white gold yellow. A buyer who receives something whiter than the photo is pleased. One who receives something yellower returns it.
- Missing backs. A stud photographed without its back looks unfinished, and the buyer can’t tell what fitting they’re getting.
- Stones retouched into plastic. Over-smoothed stones lose the internal detail that makes them read as real. Clean the dust, leave the stone alone.
- A different background every launch. Each new collection on a new surface. Up close, every piece looks fine. On the category page, the brand looks like several shops.
Earring photography ideas that still sell
The best earring photography ideas come from the piece, not from the prop closet.
Hard light and a clean shadow
A single hard light from low and to the side throws a long, sharp shadow. On a pale surface, the shadow repeats the shape of the earring. It works especially well on sculptural pieces.
The pair in a hand
An open palm holding the pair shows scale without needing a model’s face. It is also the easiest worn image to shoot at home.
The ear stack
Several pieces worn together, from the lobe up the ear. It sells the second and third piece, not only the first. Keep each piece visible, or the image becomes about the stack and not the jewelry.
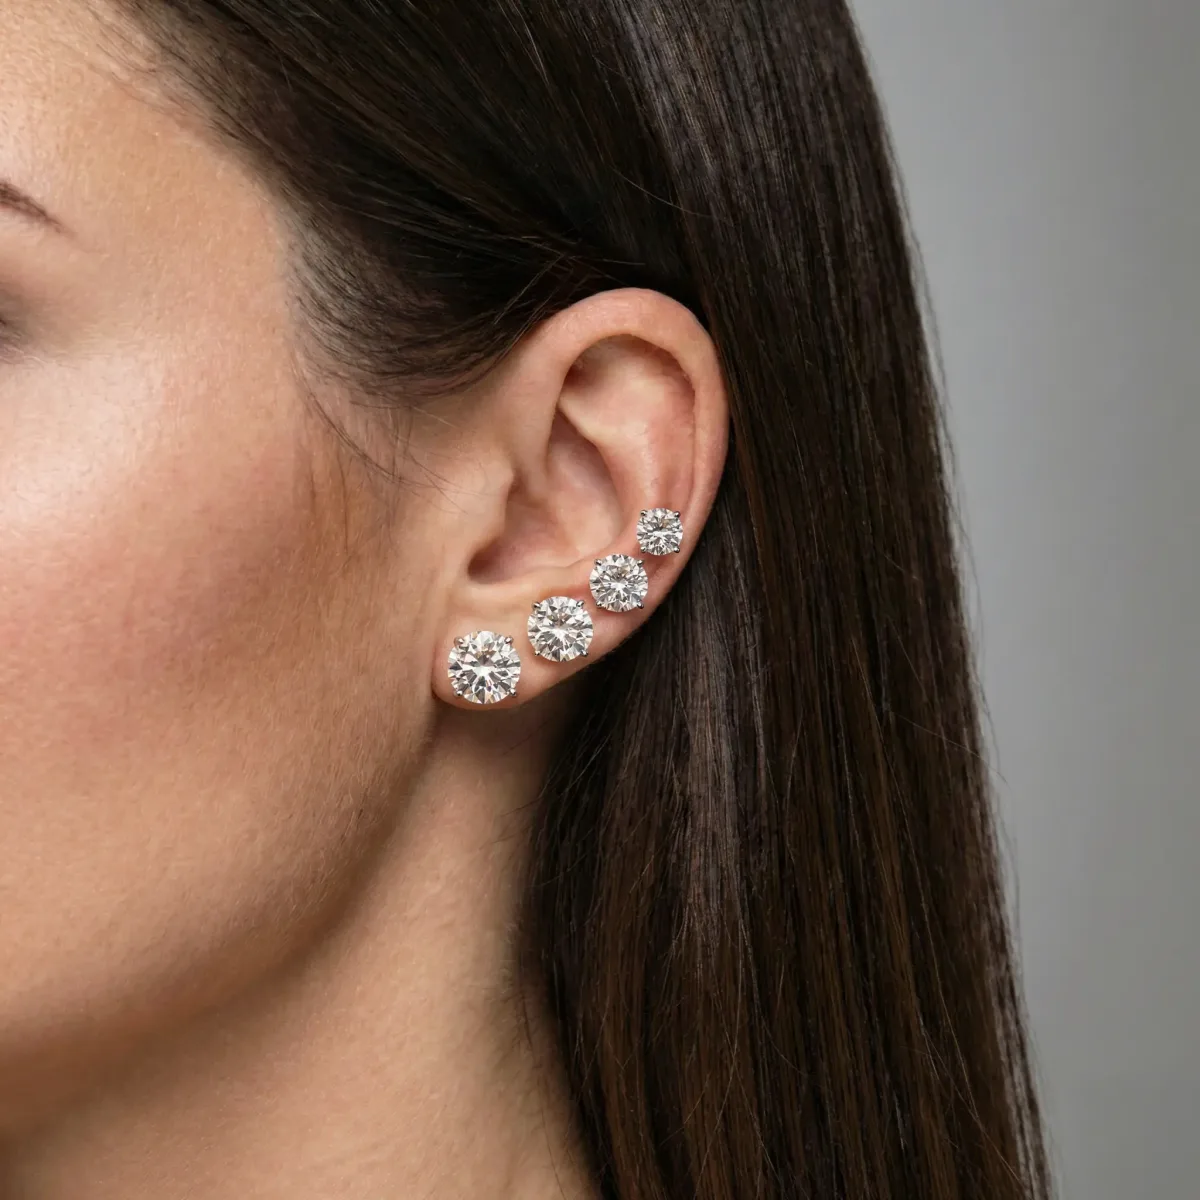
Raised on a riser
A small block, stone or glass cube lifts the earring off the surface and gives it a shadow underneath. It reads as more deliberate than flat on a table, with almost no extra work.
The worn moment
A hand tucking hair behind the ear, the earring catching light at the edge of the frame. This is campaign territory, not product page. It answers why anyone wants the piece, not what it is. You can see how a single brand mixes both across a month in one of our case studies.
Earring photos for Instagram vs the product page
The same earring needs different images in different places.
On the product page, the buyer has already chosen to look. They want facts: the pair, the scale, the build. Clarity wins.
On Instagram, nobody chose to look. The image has a fraction of a second to stop a thumb, so it needs a moment, a face, a light that does something. A clean pair on white is the right product image and usually the wrong post.
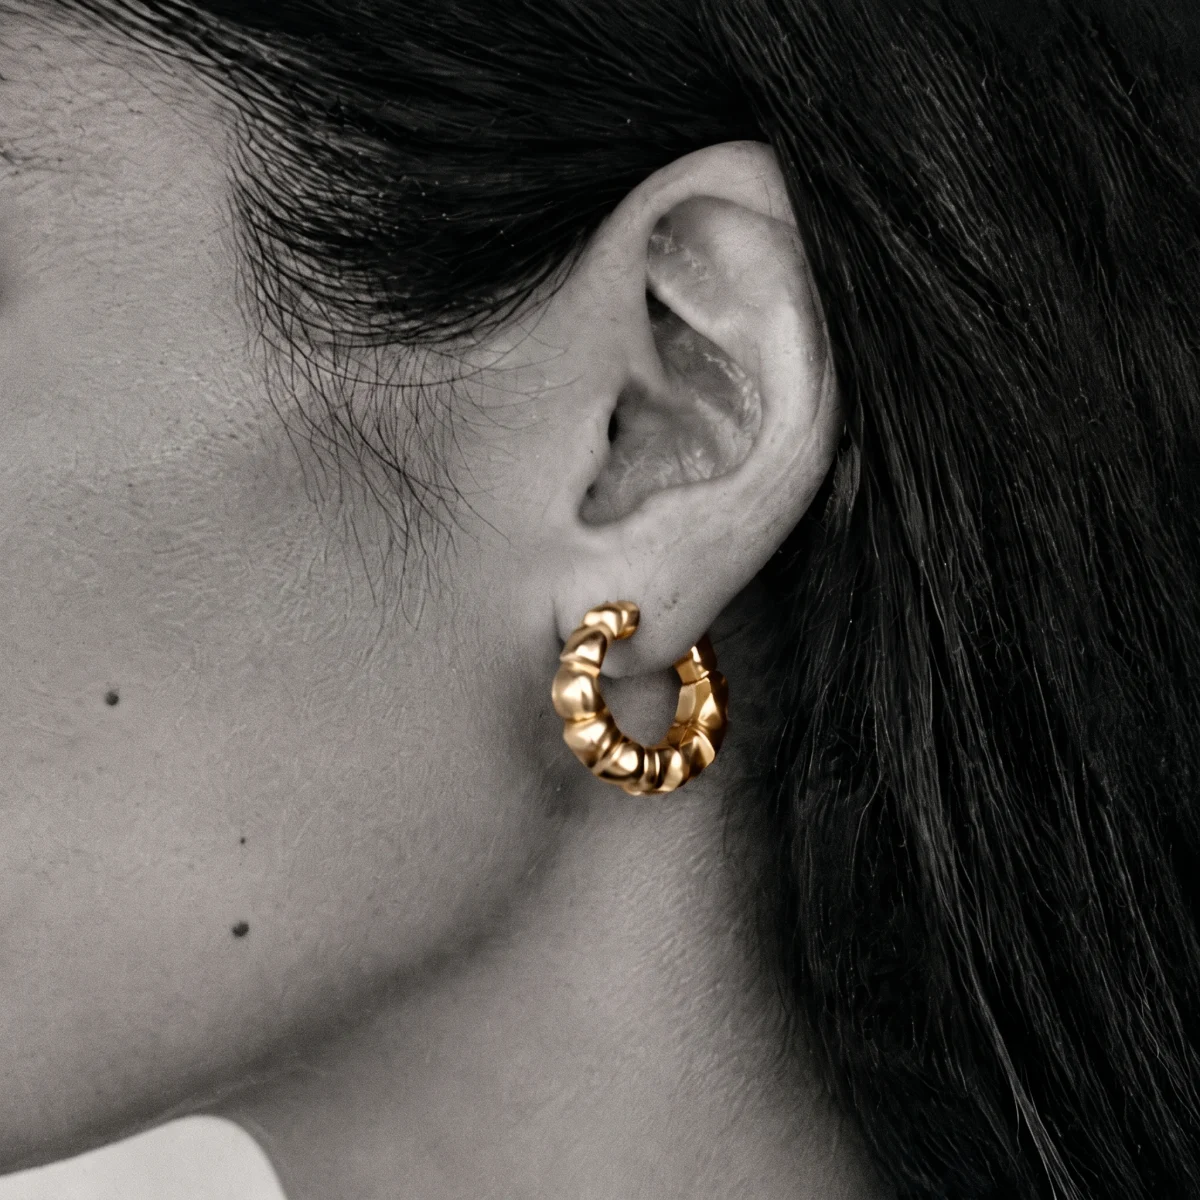
Plan both from the same photoshoot. Earrings captured once, in one light, still look like one brand in both places. The product page proves the earring. The feed makes someone want to go and check.
The earring product page, in order
Once the images exist, the order matters almost as much as the images.
- The pair, clean, on a plain background. What arrives.
- On the ear. Where it sits and how long it hangs.
- The side or profile. Depth, thickness, how it’s built.
- The close-up. The setting, the finish, the stone.
- The back. The fitting and any hallmark.
- A lifestyle image, so the piece has somewhere to be worn.
A buyer who swipes through that sequence has had every question answered by the 4th image. Stop after the flat lay, and only the first question gets an answer.
How to photograph rings and necklaces
The same 3 questions apply. Only the answers change.
Rings
Stand the ring upright, slightly turned, so the stone and the band both show. A ring lying flat hides the setting under the stone. Then show it on a hand. Ring size on a white background means nothing to anyone.
Necklaces
The question with a necklace is where the pendant falls. Flat, every chain length looks the same. On a neck, a collarbone chain and a longer one are visibly different pieces. Shoot the flat version for the detail and the worn version for the length.
Keep the whole collection consistent
One good earring photo is easy. A whole collection that looks like one brand is the harder job.
Fix the light direction, the background tone and the camera height, and keep them fixed for every piece. Change the jewelry, nothing else.
Our way of doing this starts from 1 product image plus 4 reference images of the brand. From those we build 4 matched angles of every piece, with the product itself never generated. We use the founder’s real capture and check every image by hand. You can see a full set in our work, and the rest of what we make on our services page.
Soft side light, a tripod, fishing line for the drops, a matched pair, a macro of the back, an on-ear shot and an edit that changes nothing real. Or shoot the pair on your kitchen table with your phone. The earrings stay exactly yours. We build the model, the light and the setting around them. We can build one image for you at no cost.
Hypervision. Size, settled.
Questions people ask
How do you photograph earrings for a website?
Shoot the pair flat or suspended on a plain background for the main image, then add an on-ear image for scale and a close-up of the setting and the back. Keep the light and camera height the same across every pair in the collection.
How do you show the size of earrings in a photo?
Put them on an ear. A worn image shows the drop length and how the piece sits against the lobe, which no ruler or caption does as quickly.
Should earrings be photographed as a pair?
Yes for the main image, so the buyer sees what they receive. Turn one of them slightly to show the back or the side, so the same frame shows the front and the fitting.
What background is best for earring photos?
A plain white or soft neutral background for the main product image, because it keeps the page clean and the collection consistent. Dark backgrounds suit polished gold but hide dark stones, so choose by the piece and keep the choice across the collection.
Can you photograph earrings with a phone?
Yes. Use soft side light, put the phone on a small tripod, and use its telephoto lens instead of digital zoom. For close-ups, move the phone closer rather than cropping a wider shot.